Spider plants can grow really fast, making them root bound in a year or two. This shows how strong and quick-growing they are. So, taking care of them is key. We must repot them at the right time. Repotting is an important step in their care.
This guide will teach you all about repotting your spider plant. You’ll learn the signs it needs repotting, how to pick the best pot, the repotting process, and what to do after. It’s perfect for all plant lovers, no matter your experience level. Let’s show our spider plants some love!
Key Takeaways
-
Spider plants can become root-bound in as little as 1-2 years, requiring repotting for optimal growth.
-
Identifying signs of root boundedness, such as yellowing leaves and stunted growth, is crucial for timely repotting.
-
Selecting the right pot size, material, and soil mix is essential for successful spider plant repotting.
-
Proper repotting technique, including root pruning and gentle handling, helps ensure a healthy transition.
-
Aftercare, including preventing root rot and managing pests, is key to maintaining a thriving spider plant.
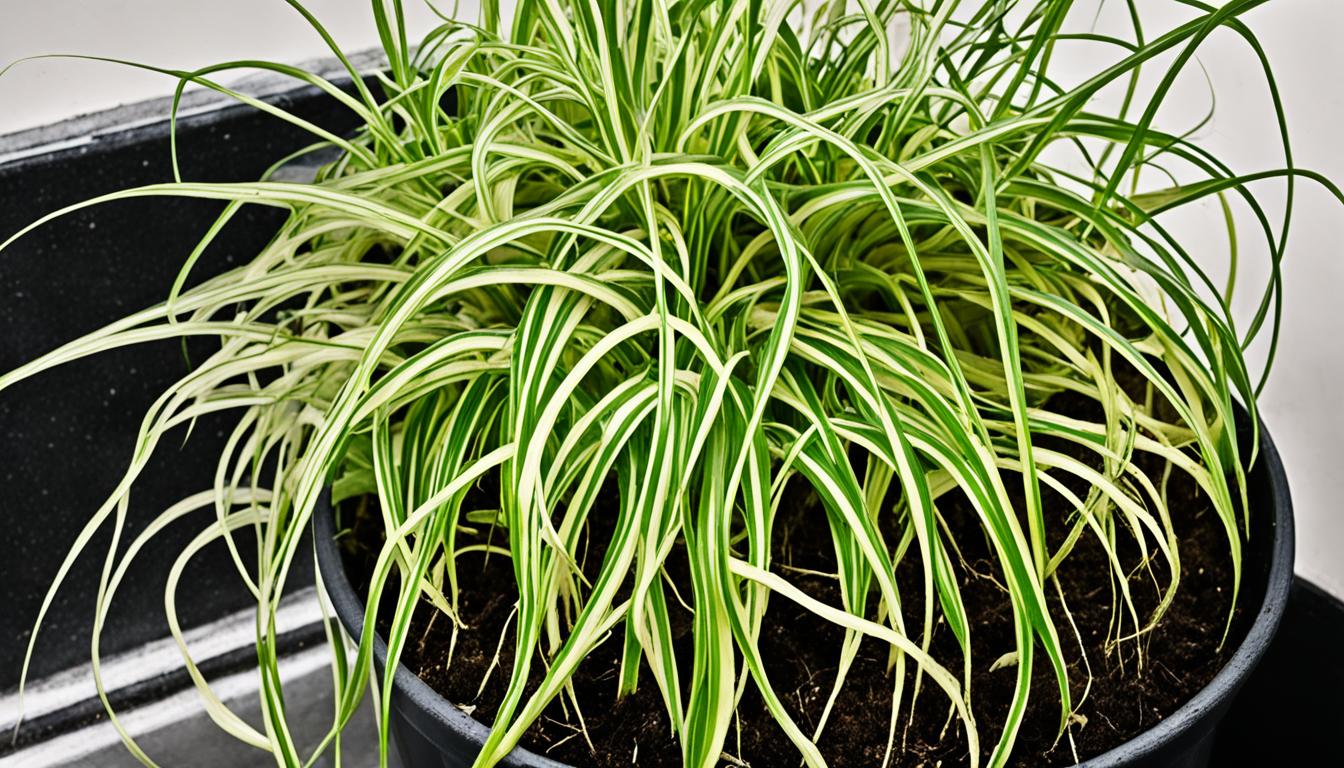
Identifying Signs of a Root-Bound Spider Plant
We all need to pay attention to our spider plants. They show us when they need more space. The biggest hint is when the leaves turn yellow or brown. This is a sign they can’t grow well in their small pot anymore.
Signs of a Root Bound Spider Plant
| Sign | Description |
| Roots in Drainage Holes | Roots visible through the pot’s drainage holes |
| Stunted Growth | Plant growth slows down significantly |
| Yellowing Leaves | Leaves turn yellow due to nutrient deficiency |
| Frequent Wilting | Plant wilts often despite regular watering |
Yellowing or Browning Leaves
Seeing your plant’s leaves change color is a big alarm. It means they are not getting enough water or food. This happens because they can’t stretch their roots further in a small pot.
Stunted Growth
If your plant looks like it’s not growing well, it’s a sign. Smaller leaves and stems show it needs more room. It’s like getting too big for their britches.
Roots Growing Through Drainage Holes
When roots start coming out of the bottom holes, it’s clear. The plant has used up all its space. It’s a cry for help, saying, “I need a bigger home!”
Watching for these signs can keep your plant happy. Repotting in time gives your spider plant a new chance to shine. It’s key to keeping it healthy and growing strong.
Importance of Repotting Spider Plants
Repotting my spider plant keeps it healthy and growing strong. It gives the roots more space to grow and stops them from getting too tangled up. This helps the plant stay healthy by letting it use fresh soil and get more nutrients.
Provides More Space for Root Growth
As a spider plant gets older, its roots need more room. By moving it to a bigger pot, the roots can spread out. This makes the plant healthier and helps it grow better.
Refreshes refreshes soil and Adds Nutrients
Sometimes, the soil in a spider plant’s pot loses its nutrients and becomes less healthy. Putting it in new soil means the plant can get what it needs to be strong and grow well.
Improved Drainage to Prevent Waterlogging
Spider plants need good drainage to avoid getting sick from too much water. When you repot them, you can make sure the new pot lets water out properly. This keeps the roots healthier.
Yet, there are mistakes to watch out for when repotting. It’s important to pick the right size pot and make sure it has drainage. These steps help your spider plant thrive and look lively in your home.
Choosing the Right Pot for Spider Plant Repotting
Choosing the right pot is key when you’re repotting your spider plant. Size, drainage, material, and stability all matter. Good choices keep your plant’s roots healthy, avoiding waterlogging issues.
Size Considerations
Choose a pot a bit bigger than your plant’s current one. This extra room lets the roots spread out. It’s vital for your plant’s growth. But don’t go too big to avoid too much water or root rot.
Drainage Holes
Having enough holes at the bottom is crucial for your plant’s health. They prevent water from building up and drowning the roots. It keeps the soil airy, which your spider plant loves.
Material and Stability
Choose a plastic or ceramic pot, not metal. Plastic and ceramic pots help maintain the right soil moisture. They are good for your plant’s well-being. Also, make sure the pot is stable. This stops accidents that might hurt your plant.
Using the best potting mix is as vital as picking the right pot. Use a mix that drains well, designed for your spider plant. This is a big boost for your plant’s health.
Spider Plant Root Bound
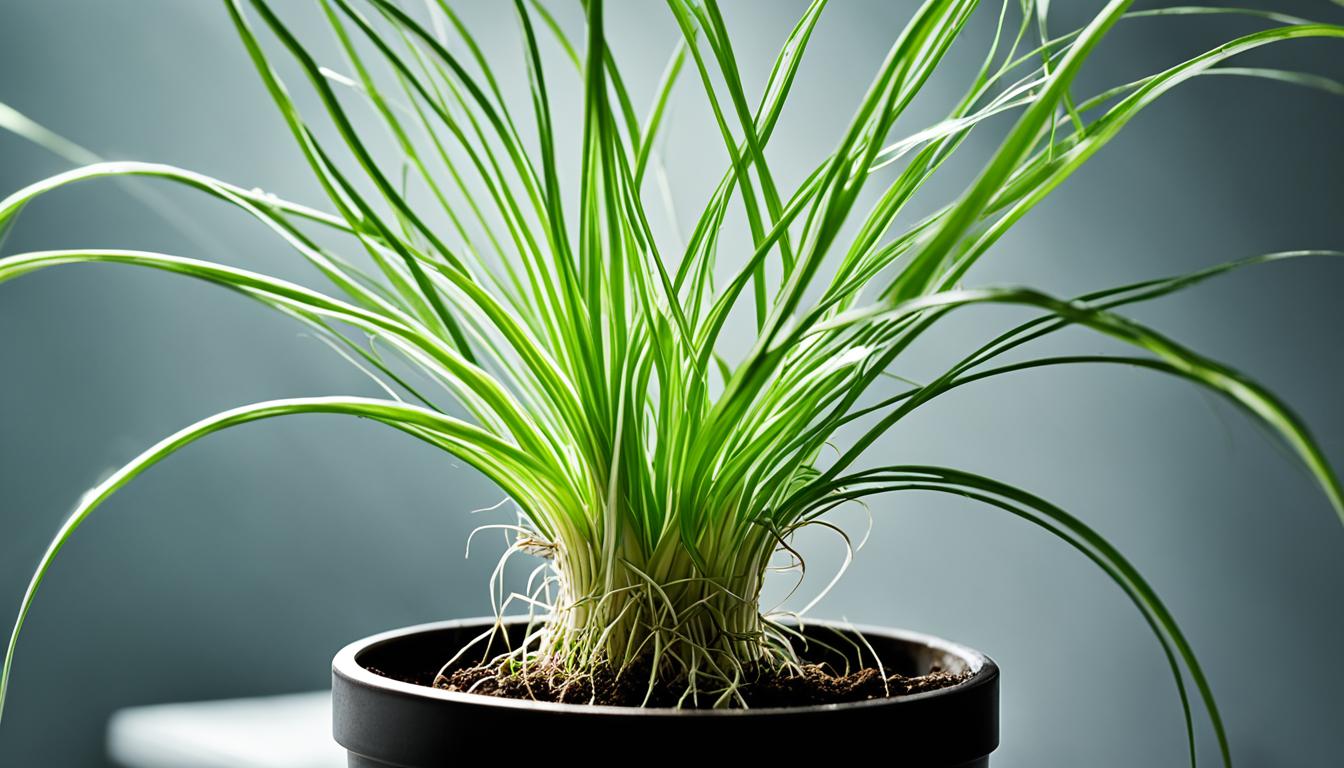
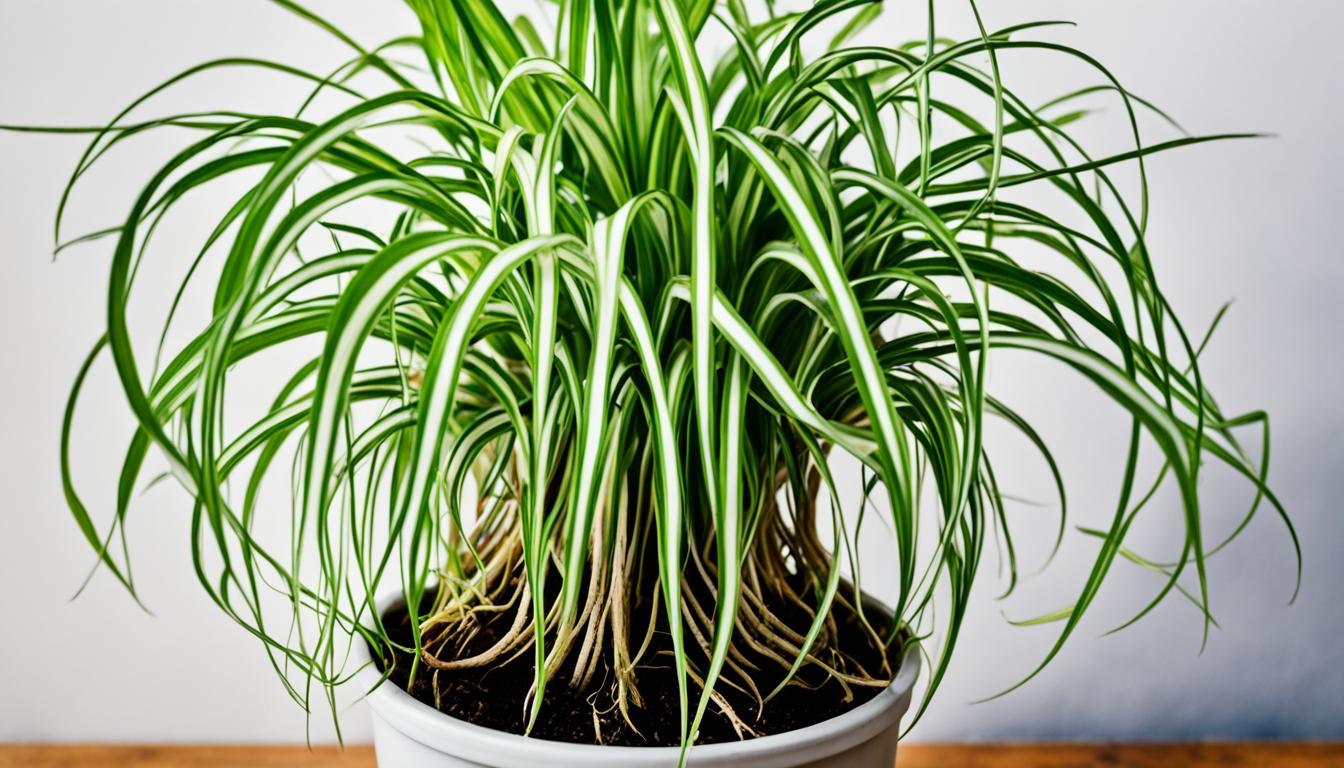
Spider plants enjoy being a bit cramped, so they’re good for pots. But if they get too big for the pot or the soil gets bad, they’ll stop growing. You’ll know it’s time to do something when you see roots coming out of the holes in the pot. Seeing roots above the soil means the space is too tight, and the roots are all tangled. This makes it hard for them to get water and food, stopping the plant from growing well.
If you notice your spider plant is struggling, like having yellow leaves or slow growth, it might be root-bound. This means it needs a bigger pot. Repotting gives the plant more room to grow and adds fresh soil for nutrients. It also helps the water drain better. Doing this promptly will help your plant get back its health and grow well again in your home or office.
Step-by-Step Repotting Process
Let’s talk about repotting my spider plant for a fresh start. When repotting your spider plant, avoid some common mistakes. These include picking a pot that’s too big and not preparing the roots for the move. Also, be sure to use good soil and ensure the pot drains well.
Steps to Repot a Root Bound Spider Plant
| Step | Description |
| Choose the Right Pot | Select a pot 1-2 inches larger with drainage holes |
| Prepare the Soil | Use a well-draining mix of peat moss, perlite, and compost |
| Remove the Plant | Gently remove the plant from its current pot |
| Trim the Roots | Trim excessively tangled roots carefully |
| Repot the Plant | Place in new pot, fill with soil, and water thoroughly |
Removing the Plant from the Current Pot
To start, gently take the spider plant out of its pot. Turn the pot over and tap the bottom to help release the plant. If the roots are tightly packed, gently loosen them with a knife or tool before pulling the plant out.
Loosening and Pruning the Roots
Now, with the plant out, it’s time to work on the roots. Use your fingers to gently unwind them. This makes it easier for the plant to settle in its new home. You might need to trim some roots, but only the damaged ones.
Preparing the New Pot and Potting Mix
For the new pot, choose one slightly bigger than the old one. This gives the roots room to grow. Make sure this pot has holes in the bottom for water to escape. Start by adding fresh, well-draining soil to the pot.
Planting the Spider Plant in the New Pot
Place the spider plant in the new pot’s center. Add more soil around the sides. Gently press the soil to support the plant, but don’t pack it too tight. After planting, give the plant a good soak to help it adjust.
Aftercare and Maintenance
I make sure my spider plant stays healthy after being repotted. I take steps to prevent root rot and fight off bugs.
Preventing Root Rot
Preventing root rot is key. I don’t water my plant too much. I also use pots with good drainage and the right soil. If the roots get too wet, they can start to rot.
Dealing with Common Pests
I watch for pests that harm plants. Things like spider mites, aphids, and mealybugs are enemies. I fight them with insecticidal soap or neem oil. It’s vital to catch these pests early and stop them fast.
With these tips, my spider plant will stay happy and green. It will grow big and beautiful with the care it needs.
Best Time for Repotting Spider Plants
The best time to repot a spider plant is in the spring or summer. Most spider plants need a new pot every 1-2 years. You’ll know it’s time to repot when they look root-bound.
It’s not good to repot in winter. This is when houseplants rest rather than grow.
A common mistake is using a pot that is too big. This leads to overwatering and root rot. Make sure the new pot drains well to avoid waterlogging. Also, don’t forget to loosen the roots when moving the plant. It helps the roots adjust and grow well.
Conclusion
In conclusion, following this guide will help your spider plant thrive. Remember to repot it at the right time. Choose a good pot and take care of it well. This ensures your spider plant grows at its best.
Whether you know a lot or not much about plants, this guide helps. It talks about how to tell if your root-bound spider plant needs help. And how to repot it step by step. By doing things like giving it enough root growth space, new soil, and better drainage, your spider plant will be happy and healthy.
Let’s use what we’ve learned to care for our spider plants, right? With the right care, you’ll see beautiful, lively plants in your home. Happy planting!
<div class="quiz-container">
  <h1>  Spider Plant Root Bound? Here's What To Do!  </h1>
  <form id="spider-plant-root-bound-quiz">
    <div class="question">
      <h2>1. What are common signs that a spider plant is root bound?</h2>
      <label>
        <input type="radio" name="q1" value="a"> Yellowing leaves
      </label>
      <label>
        <input type="radio" name="q1" value="b"> Roots growing out of the pot drainage holes
      </label>
      <label>
        <input type="radio" name="q1" value="c"> Stunted growth
      </label>
      <label>
        <input type="radio" name="q1" value="d"> All of the above
      </label>
    </div>
    <div class="question">
      <h2>2. What is the first step to take when you notice your spider plant is root bound?</h2>
      <label>
        <input type="radio" name="q2" value="a"> Water it more frequently
      </label>
      <label>
        <input type="radio" name="q2" value="b"> Prune the leaves ✂️
      </label>
      <label>
        <input type="radio" name="q2" value="c"> Repot the plant in a larger container
      </label>
      <label>
        <input type="radio" name="q2" value="d"> Move it to a sunnier location ☀️
      </label>
    </div>
    <div class="question">
      <h2>3. What type of soil is best for repotting a spider plant?</h2>
      <label>
        <input type="radio" name="q3" value="a"> Sandy soil  ️
      </label>
      <label>
        <input type="radio" name="q3" value="b"> Clay soil
      </label>
      <label>
        <input type="radio" name="q3" value="c"> Well-draining, rich soil
      </label>
      <label>
        <input type="radio" name="q3" value="d"> Rocky soil
      </label>
    </div>
    <div class="question">
      <h2>4. How do you remove the spider plant from its current pot?</h2>
      <label>
        <input type="radio" name="q4" value="a"> Gently pull the plant out, loosening the roots
      </label>
      <label>
        <input type="radio" name="q4" value="b"> Cut the pot open with scissors ✂️
      </label>
      <label>
        <input type="radio" name="q4" value="c"> Shake the plant vigorously
      </label>
      <label>
        <input type="radio" name="q4" value="d"> Uproot by pulling the leaves
      </label>
    </div>
    <div class="question">
      <h2>5. After repotting, how should you care for your spider plant?</h2>
      <label>
        <input type="radio" name="q5" value="a"> Water immediately and place in indirect light
      </label>
      <label>
        <input type="radio" name="q5" value="b"> Place in direct sunlight ☀️
      </label>
      <label>
        <input type="radio" name="q5" value="c"> Fertilize heavily
      </label>
      <label>
        <input type="radio" name="q5" value="d"> Do nothing, let it adjust naturally
      </label>
    </div>
    <button type="button" onclick="checkAnswers()">Submit</button>
  </form>
  <div id="results"></div>
</div>

<style>
  .quiz-container {
    font-family: Arial, sans-serif;
    max-width: 600px;
    margin: auto;
    padding: 20px;
    border: 2px solid #4CAF50;
    border-radius: 10px;
    background-color: #f9f9f9;
  }
  h1 {
    text-align: center;
    color: #4CAF50;
  }
  .question {
    margin-bottom: 20px;
  }
  label {
    display: block;
    margin: 5px 0;
  }
  button {
    display: block;
    width: 100%;
    padding: 10px;
    background-color: #4CAF50;
    color: white;
    border: none;
    border-radius: 5px;
    cursor: pointer;
  }
  button:hover {
    background-color: #45a049;
  }
  #results {
    margin-top: 20px;
    text-align: center;
  }
</style>

<script>
  function checkAnswers() {
    const answers = {
      q1: 'd',
      q2: 'c',
      q3: 'c',
      q4: 'a',
      q5: 'a'
    };
    let score = 0;
    const form = document.getElementById('spider-plant-root-bound-quiz');
    const results = document.getElementById('results');
    const formData = new FormData(form);
    formData.forEach((value, key) => {
      if (value === answers[key]) {
        score++;
      }
    });
    results.innerHTML = `<h2>Your Score: ${score}/5</h2>`;
    if (score === 5) {
      results.innerHTML += `<p>  Excellent! You are a Spider Plant care expert!  </p>`;
    } else if (score >= 3) {
      results.innerHTML += `<p>  Good job! Keep up the great work in caring for your plants!  </p>`;
    } else {
      results.innerHTML += `<p>  Keep learning and your Spider Plants will thrive!  </p>`;
    }
  }
</script>
Spider Plant Root Bound? Here’s What To Do!
Relevant Articles:
Source Links
spider-plant-root-bound
 Skip to content