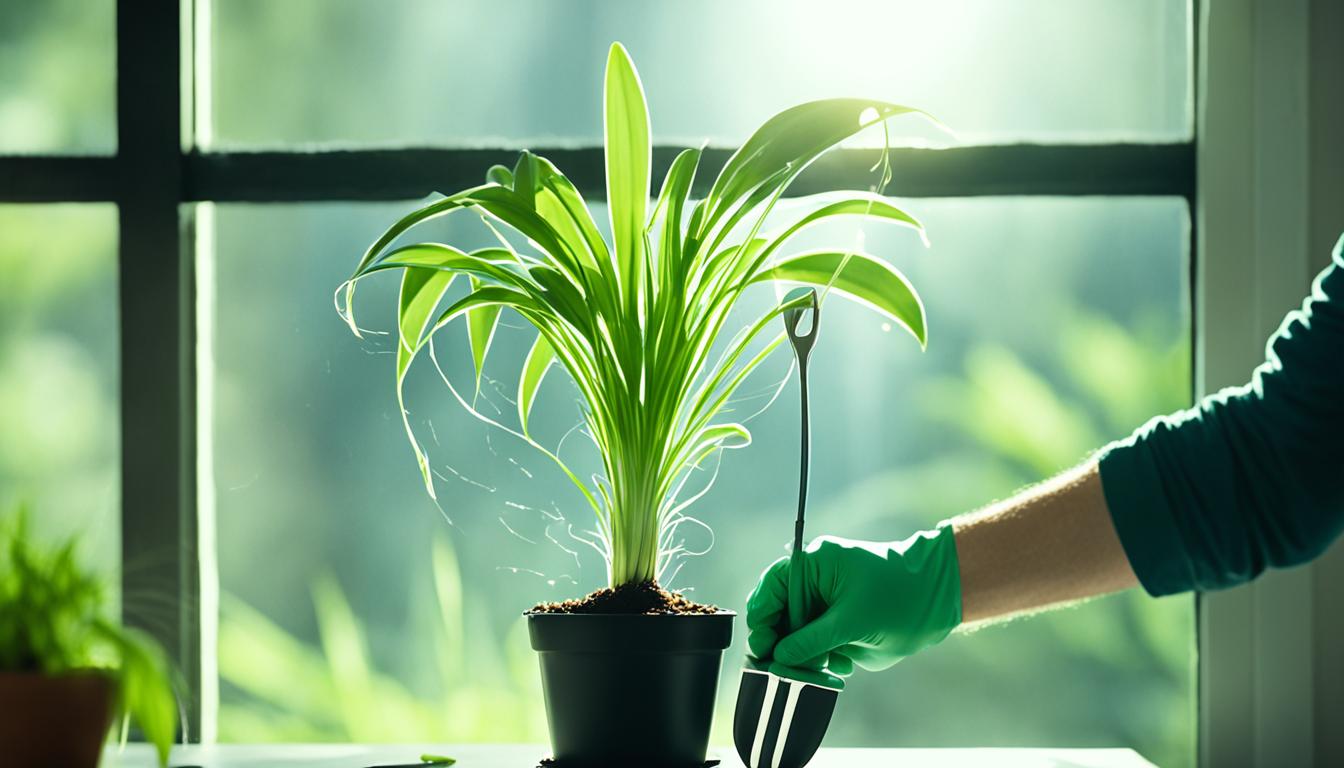
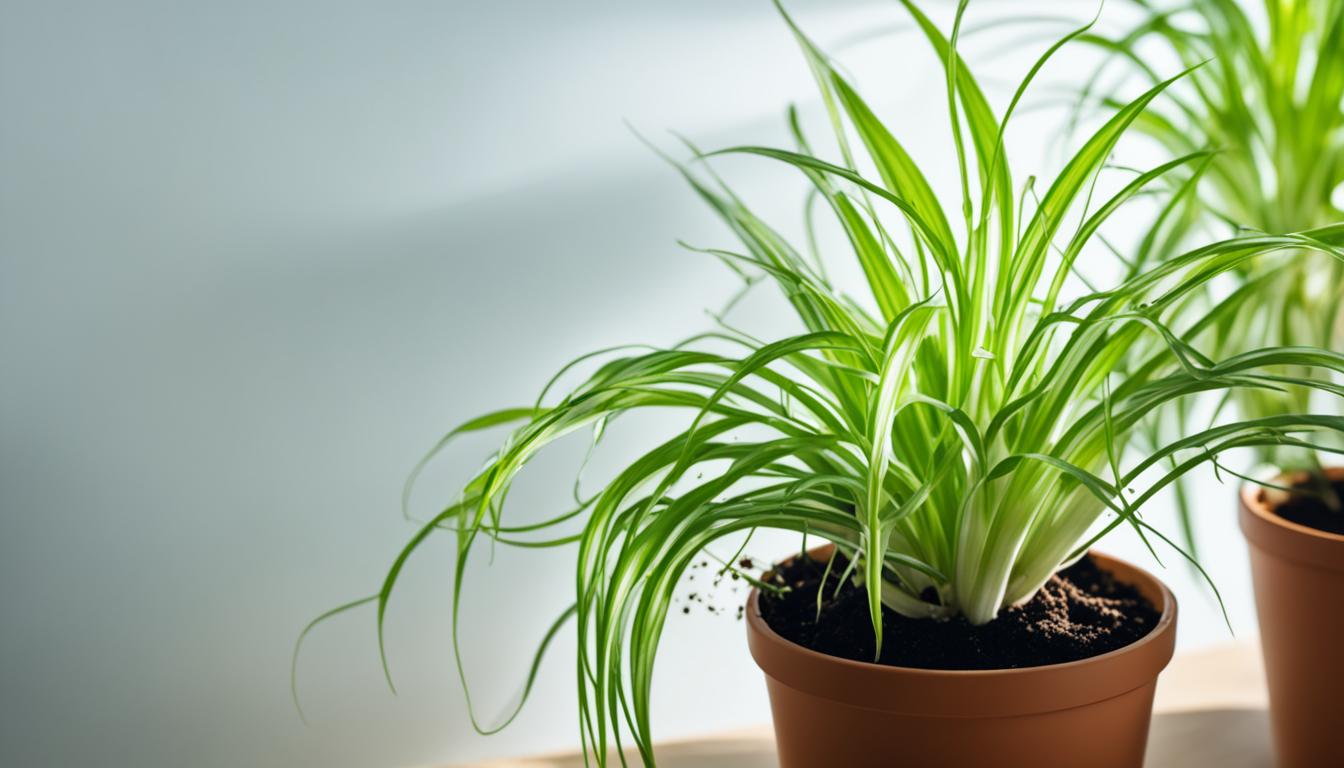
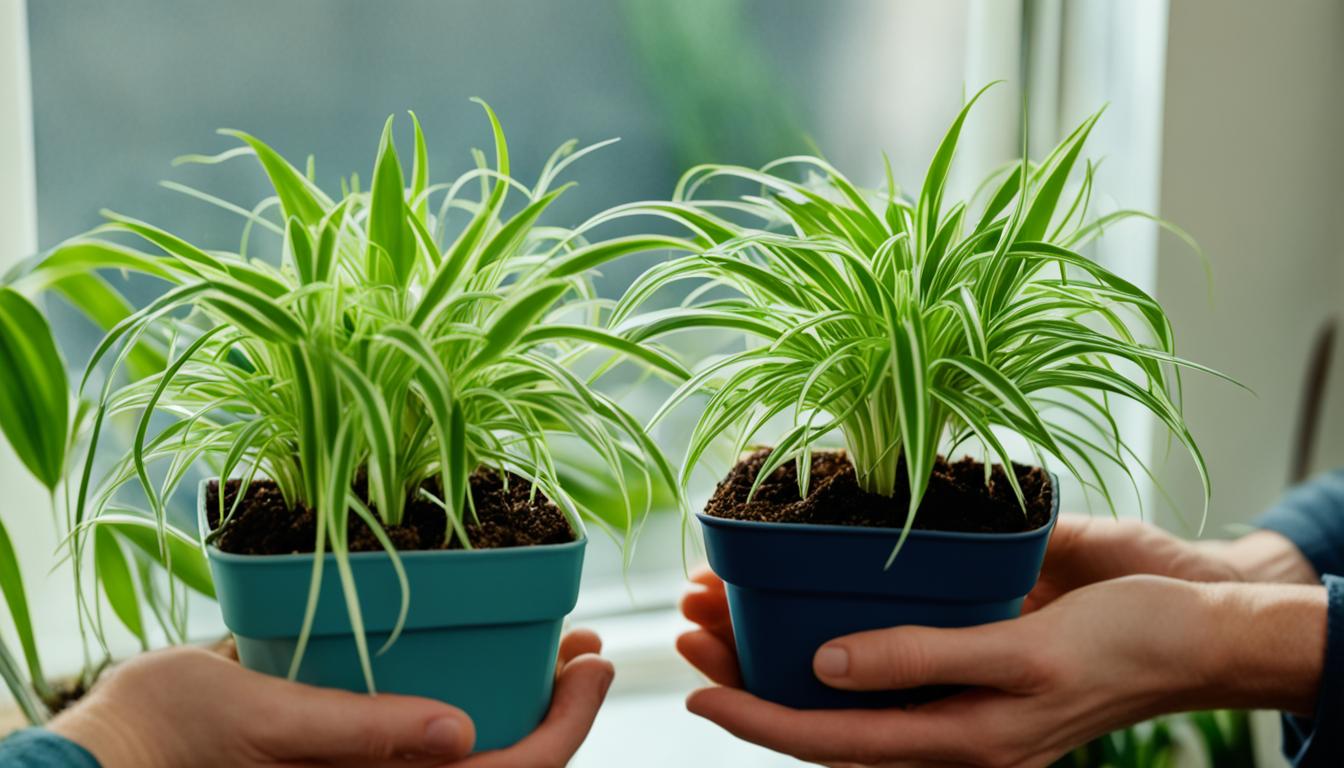
Did you know spider plants can get as wide as 3 feet? They make over 100 baby plants in a season. These plants need the right care to do well. Repotting is key for a healthy and strong spider plant.
If you love plants, you understand how important care is. Spider plants really brighten up a room. They just need a little care to grow well. Repotting is a crucial part of their care. This guide will teach you everything you need to know about how to take care of your spider plant. It covers when to repot, picking the best pot, the repotting steps, and care afterward. No matter your plant experience, this guide will help your spider plant be at its best. Let’s start showing our spider plants the care they need!
Key Takeaways
-
Spider plants can grow up to 3 feet wide and produce over 100 baby plants in a single season.
-
Repotting is a crucial step in maintaining the health and vigor of your spider plant.
-
This guide explains when your spider plant needs repotting, how to select the right pot, the repotting process, and aftercare tips.
-
Whether you’re a novice or an experienced plant parent, this guide will help you revive your spider plant and let it thrive.
-
Proper care and attention are essential for spider plants to reach their full potential.
Signs Your Spider Plant Needs Repotting
It is important to monitor the growth of your spider plant and pay attention to its roots and overall health. A big sign it needs a bigger pot is when roots poke out of the drainage holes. This means it has outgrown its current home and needs more room.
If you see leaves turning yellow or brown, it’s time to check the pot size. This happens when the plant is too big for its pot. The roots get crowded, making it hard for the plant to get what it needs. Another clue is slow growth, which means the spider plant might be too snug.
It’s key to act fast when you spot these signs. Switching to a larger pot will boost your plant’s root health and growth. This step is crucial to avoiding root rot and helping your spider plant thrive. Plus, it allows the root system to grow correctly.
Benefits of Repotting Spider Plants
Transferring my spider plant to a new pot will contribute to its healthy and robust growth. It provides more room for the roots and stops them from getting too tight. This process also lets me give the plant fresh soil and needed nutrients.
It’s like giving my spider plant a new home. With more space, the roots can grow freely. This makes the plant healthier and happier. Plus, new soil and nutrients are great for its growth.
Encourages Healthy Root Growth
As spider plants grow, their roots need more room. Repotting allows the roots to freely spread out and thrive. This helps the plant get stronger and more vigorous.
Refreshes Soil and Nutrients
Old soil can run out of important nutrients over time. When I repot, I swap the soil for fresh, nutrient-rich mix. This gives my spider plant the food it needs to be healthy.
Improves Drainage
Better drainage is another plus of repotting. Improved drainage in a new pot with proper holes and quality soil facilitates better water flow. This way, the plant’s roots get the right balance of air and water.
But there are some things I need to watch out for. Like picking the right pot size and making sure there’s enough drainage. Also, I must be careful not to harm the plant’s roots.
Repotting Spider Plants
Selecting the right pot is key when repotting my spider plant. The pot should be a tad bigger than its current one. This gives the roots more space to spread out. The pot needs to have holes in the bottom for water to run out. This stops the roots from getting too wet. Plastic or ceramic pots work best because they keep the plant steady.
Pot Selection
Getting the right soil for your spider plant is just as important. Look for soil that drains well. This helps the plant get the right mix of water and air.
Soil Preparation
Neglecting to make deliberate choices when repotting can have negative consequences for the well-being of your spider plant. A pot that’s too big could cause the plant to get too much water. Root rot is a consequence of this. Before moving it, make sure the plant’s roots are loose. This prevents them from stunting as the plant grows. Also, bad soil or a lack of drainage can drown the roots and make the plant sick.
Repotting Technique
To fix these issues, take the spider plant out of its old pot with care. Untangle its roots gently and put it in a bigger pot with new soil. Then, give the plant enough water to get started in its new home.
Aftercare and Maintenance
After repotting my spider plant, I make sure it grows well and lives long. I specialize in preventing root rot and managing pest infestations. This keeps my plant in good shape.
Watering Schedule
For the spider plant, I’m careful not to overwater. Effective drainage is crucial. I let the soil surface dry before watering again.
Fertilizing
Feeding the spider plant right is important for its growth. The best option is a balanced fertilizer. I follow the label’s directions, feeding every 2-3 months in the growing season.
Pruning and Propagation
Staying tidy and making new plants helps my spider plant flourish. I cut off dead leaves. I also think about making new plants from the old ones.
Sticking to the repotting rules and avoiding mistakes keeps my plant happy. I water, feed, and trim it just right. This makes my spider plant enjoy its new home.
Conclusion
By following the steps in this guide, your spider plant can thrive. The key is repotting it at the right time and picking the best pot. Also, you must take good care of it after repotting.
Spider plants are amazing and need our care. Let’s keep them happy, and they will make our homes greener. Enjoy watching them grow and make your space beautiful.
Proper repotting and care are crucial for your spider plant’s health. It’s rewarding to see it grow and know you helped it. So, let’s take care of our spider plants with love, and they will bloom.
<div class="quiz-container">
  <h1>  Repotting Spider Plants: A Guide to Healthy Growth  </h1>
  <form id="spider-plant-repotting-quiz">
    <div class="question">
      <h2>1. When is the best time to repot a spider plant?</h2>
      <label>
        <input type="radio" name="q1" value="a"> Spring
      </label>
      <label>
        <input type="radio" name="q1" value="b"> Summer ☀️
      </label>
      <label>
        <input type="radio" name="q1" value="c"> Fall
      </label>
      <label>
        <input type="radio" name="q1" value="d"> Winter ❄️
      </label>
    </div>
    <div class="question">
      <h2>2. What is the first step in repotting a spider plant?</h2>
      <label>
        <input type="radio" name="q2" value="a"> Water the plant thoroughly
      </label>
      <label>
        <input type="radio" name="q2" value="b"> Gently remove the plant from its pot
      </label>
      <label>
        <input type="radio" name="q2" value="c"> Prune the leaves ✂️
      </label>
      <label>
        <input type="radio" name="q2" value="d"> Prepare the new pot with soil
      </label>
    </div>
    <div class="question">
      <h2>3. What type of soil is best for repotting spider plants?</h2>
      <label>
        <input type="radio" name="q3" value="a"> Sandy soil  ️
      </label>
      <label>
        <input type="radio" name="q3" value="b"> Clay soil
      </label>
      <label>
        <input type="radio" name="q3" value="c"> Well-draining, rich soil
      </label>
      <label>
        <input type="radio" name="q3" value="d"> Rocky soil
      </label>
    </div>
    <div class="question">
      <h2>4. How should you handle the roots when repotting?</h2>
      <label>
        <input type="radio" name="q4" value="a"> Prune all the roots ✂️
      </label>
      <label>
        <input type="radio" name="q4" value="b"> Gently loosen the roots
      </label>
      <label>
        <input type="radio" name="q4" value="c"> Wash the roots with soap
      </label>
      <label>
        <input type="radio" name="q4" value="d"> Cut the roots in half ✂️
      </label>
    </div>
    <div class="question">
      <h2>5. How often should you water a spider plant after repotting?</h2>
      <label>
        <input type="radio" name="q5" value="a"> Daily
      </label>
      <label>
        <input type="radio" name="q5" value="b"> When the top inch of soil is dry
      </label>
      <label>
        <input type="radio" name="q5" value="c"> Once a week
      </label>
      <label>
        <input type="radio" name="q5" value="d"> Once a month  ️
      </label>
    </div>
    <button type="button" onclick="checkAnswers()">Submit</button>
  </form>
  <div id="results"></div>
</div>

<style>
  .quiz-container {
    font-family: Arial, sans-serif;
    max-width: 600px;
    margin: auto;
    padding: 20px;
    border: 2px solid #4CAF50;
    border-radius: 10px;
    background-color: #f9f9f9;
  }
  h1 {
    text-align: center;
    color: #4CAF50;
  }
  .question {
    margin-bottom: 20px;
  }
  label {
    display: block;
    margin: 5px 0;
  }
  button {
    display: block;
    width: 100%;
    padding: 10px;
    background-color: #4CAF50;
    color: white;
    border: none;
    border-radius: 5px;
    cursor: pointer;
  }
  button:hover {
    background-color: #45a049;
  }
  #results {
    margin-top: 20px;
    text-align: center;
  }
</style>

<script>
  function checkAnswers() {
    const answers = {
      q1: 'a',
      q2: 'b',
      q3: 'c',
      q4: 'b',
      q5: 'b'
    };
    let score = 0;
    const form = document.getElementById('spider-plant-repotting-quiz');
    const results = document.getElementById('results');
    const formData = new FormData(form);
    formData.forEach((value, key) => {
      if (value === answers[key]) {
        score++;
      }
    });
    results.innerHTML = `<h2>Your Score: ${score}/5</h2>`;
    if (score === 5) {
      results.innerHTML += `<p>  Excellent! You are a Spider Plant repotting expert!  </p>`;
    } else if (score >= 3) {
      results.innerHTML += `<p>  Good job! Keep up the great work in caring for your plants!  </p>`;
    } else {
      results.innerHTML += `<p>  Keep learning and your Spider Plants will thrive!  </p>`;
    }
  }
</script>
Repotting Spider Plants: A Guide to Healthy Growth
Relevant Articles:
Source Links
repotting-spider-plants


