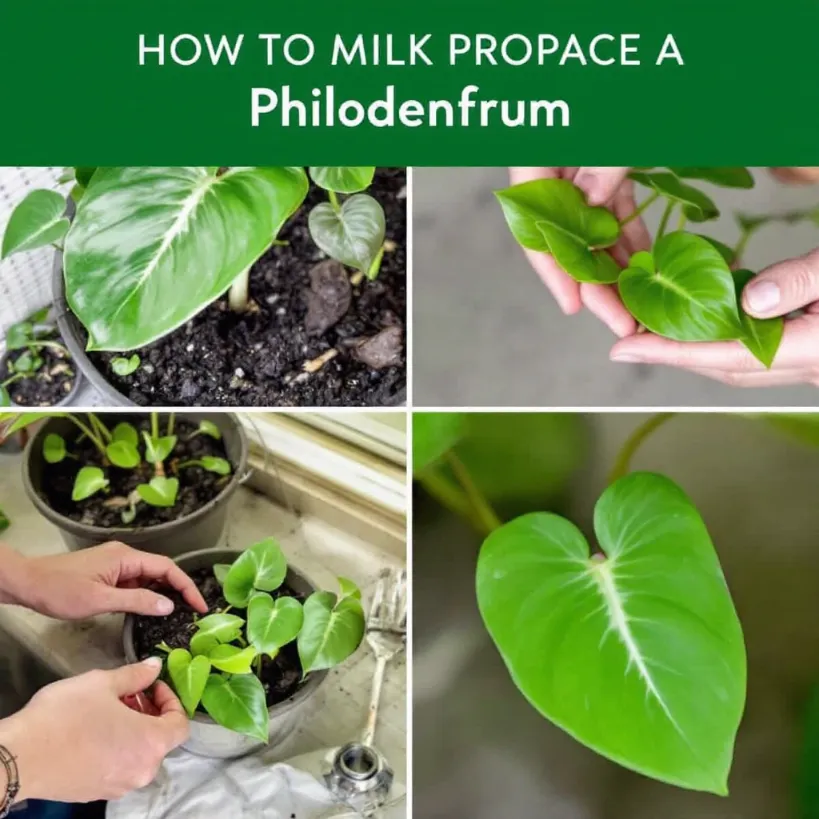
You’ve got philodendron cuttings. Maybe you’re a propagation pro, or maybe you just snipped a piece off because it looked like it needed a haircut. Whatever. You’re here because those cuttings need to go from water (or wherever they are) into some good old-fashioned dirt. This is that guide. No mystical plant voodoo, just practical steps.
Key Takeaways
Skip the long read if you’re in a hurry. Here’s the gist:
- Root Check: Water roots? Wait till they’re about 1-2 inches long. Soil-to-soil? Make sure the cutting has a few healthy leaves and a node (that little bump where leaves and roots grow).
- Pot Like a Pro: Small is beautiful. A 4-6 inch pot with drainage holes is your best bet. Bigger pots hold too much water.
- Dirt Matters: Use a well-draining mix. Think peat moss, perlite, and orchid bark. It’s like a breathable, comfy bed for your plant.
- Water wisely: Damp, not drowning. Let the top inch of soil dry out between waterings.
- Light, But Not Too Much: Bright, indirect light. Imagine a sunny room, but the plant is not directly in the sunbeams.
- Be Patient: It might look sad for a bit. That’s okay. Plants are tougher than they look.
Step-by-Step: From Cutting to Thriving Plant
Let’s break this down into bite-sized pieces. Even you can’t mess this up. (Probably.)
Step 1: The Pot: Choosing Your Plant’s New Home
Don’t overthink it. A basic plastic pot with drainage holes is perfect. We’re aiming for something around 4-6 inches in diameter for most cuttings. Think “cozy apartment,” not “empty warehouse.” Too much space means the soil stays wet for too long, and that’s a recipe for root rot.
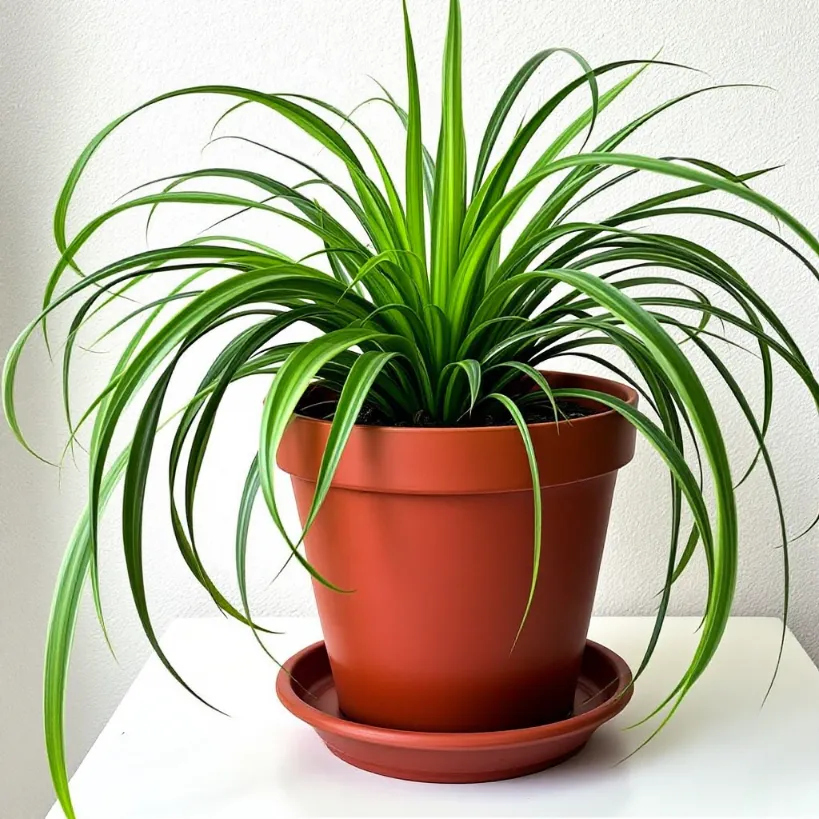
Internal Link: Learn more about choosing the perfect pot for your spider plant (the principles are the same for philodendrons!).
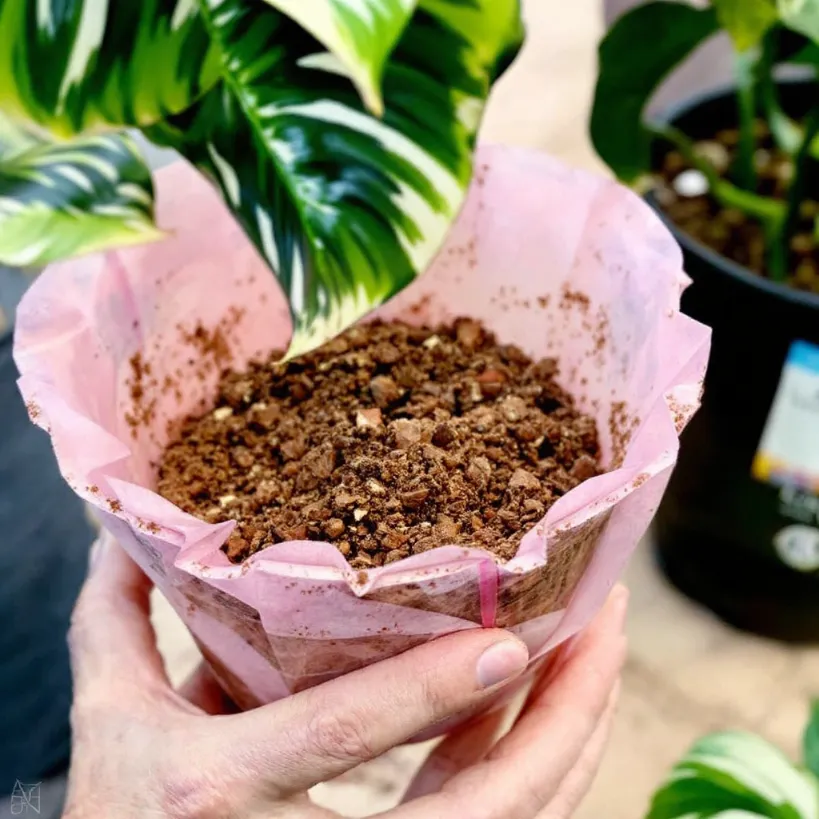
Step 2: The Soil—The Foundation of Everything
Philodendrons are like picky eaters; they don’t want just any dirt. They want a mix that drains well and provides air to the roots. A good blend includes:
- Peat Moss: Holds moisture, but not too much.
- Perlite: those little white rocks that look like Styrofoam. They create air pockets.
- Orchid Bark: Adds chunkiness and improves drainage.
You can buy pre-mixed “well-draining potting mix,” or you can make your own. It’s like cooking, but with dirt.
Internal Link: Check out this guide to Philodendron soil mix for the perfect recipe.
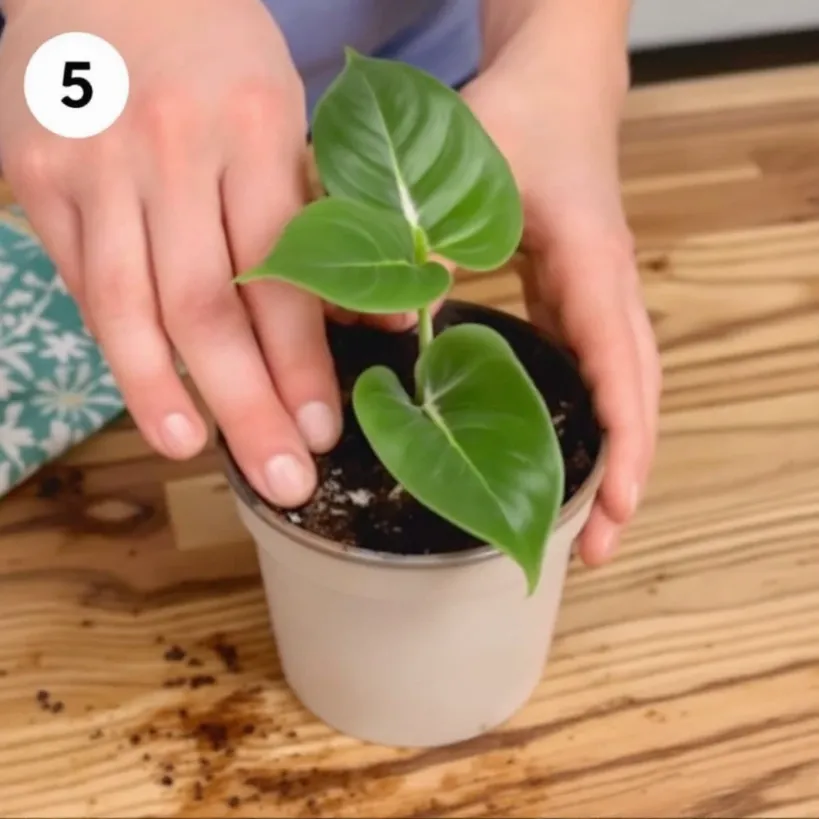
Step 3: Planting—The Main Event
This is where the magic happens (or, you know, where the plant goes in the dirt).
- Partial Fill: Fill the pot about 1/3 full with your awesome soil mix.
- Cutting Placement: Gently place your cutting in the pot. If it has roots, spread them out a bit. Don’t be rough!
- Fill ‘Er Up: Add more soil around the roots, leaving about an inch of space between the soil and the rim of the pot.
- Gentle Pat: Lightly pat the soil down. You’re not making mud pie; you’re just settling things in.
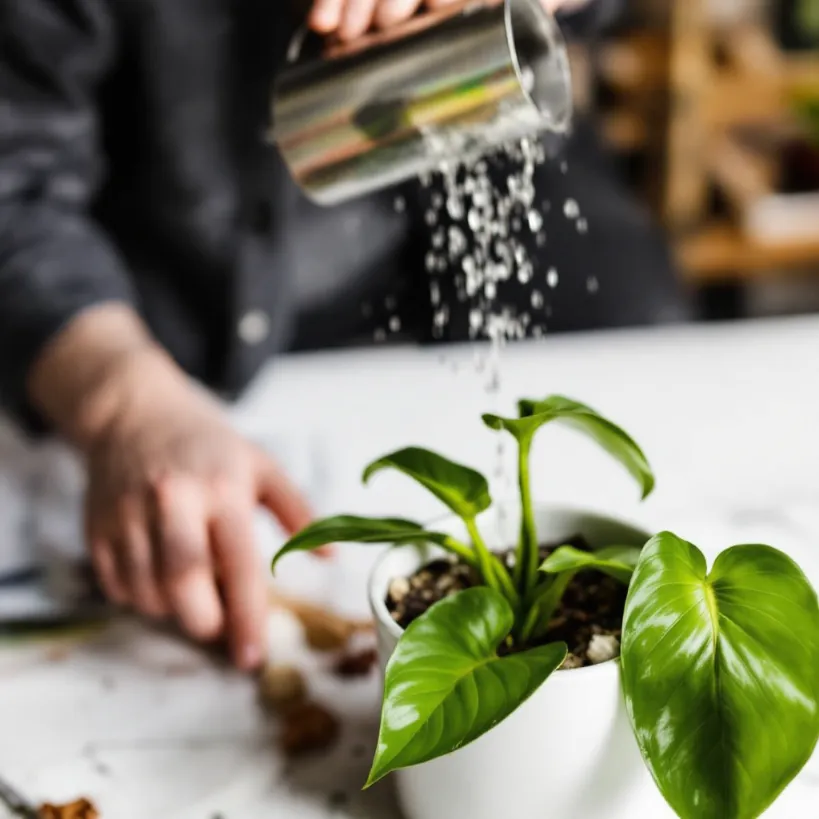
Step 4: Watering the Lifeblood (But Don’t Overdo It)
Give your newly planted cutting a drink. But remember, we’re going for damp, not swimming pool. Use a watering can with a narrow spout or even a regular cup. Pour slowly around the base of the plant. The water should drain out of the bottom holes. If it doesn’t, your soil isn’t draining well enough (go back to Step 2).
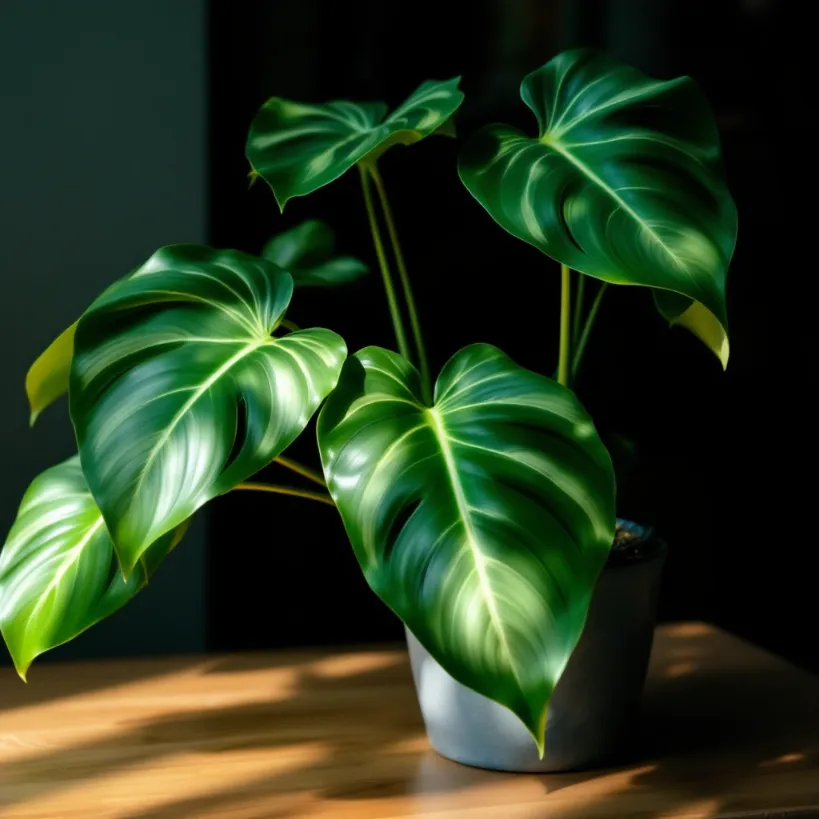
Step 5: Light—Finding the Sweet Spot
Philodendrons are like vampires—they don’t like direct sunlight. (Okay, maybe not exactly like vampires, but you get the idea.) They prefer bright, indirect light.
- Good: Near an east or west-facing window.
- Bad: Directly in the harsh afternoon sun.
- Also bad: a dark corner where nothing grows.

Internal Link: Discover the Philodendron light requirements in detail.
Step 6: Patience and Ongoing Care—The Long Haul
Now, you wait. Your philodendron might look a little sad for a while. It’s like moving to a new city—it takes time to adjust. Here’s what to do:
- Watering: Stick your finger in the soil. If the top inch feels dry, water it. If it’s damp, leave it alone.
- Humidity: Philodendrons like it humid. If your air is dry, mist the leaves occasionally, or put the pot on a tray of pebbles filled with water. You are creating a suitable environment for philodendron plants.
- Fertilizing: Wait a month or two, then start fertilizing. Use a balanced, water-soluble fertilizer, diluted to half strength. Do this every 4-6 weeks during spring and summer. Fertilizing philodendron plants for optimal growth is easy.
- Check how to propagate a philodendron birkin, if that´s your case.
- Pests: Keep an eye out for tiny bugs. If you see any, deal with them quickly.
Troubleshooting: When Things Get Weird
Plants are living things, and sometimes they do weird stuff. Here’s how to handle it:
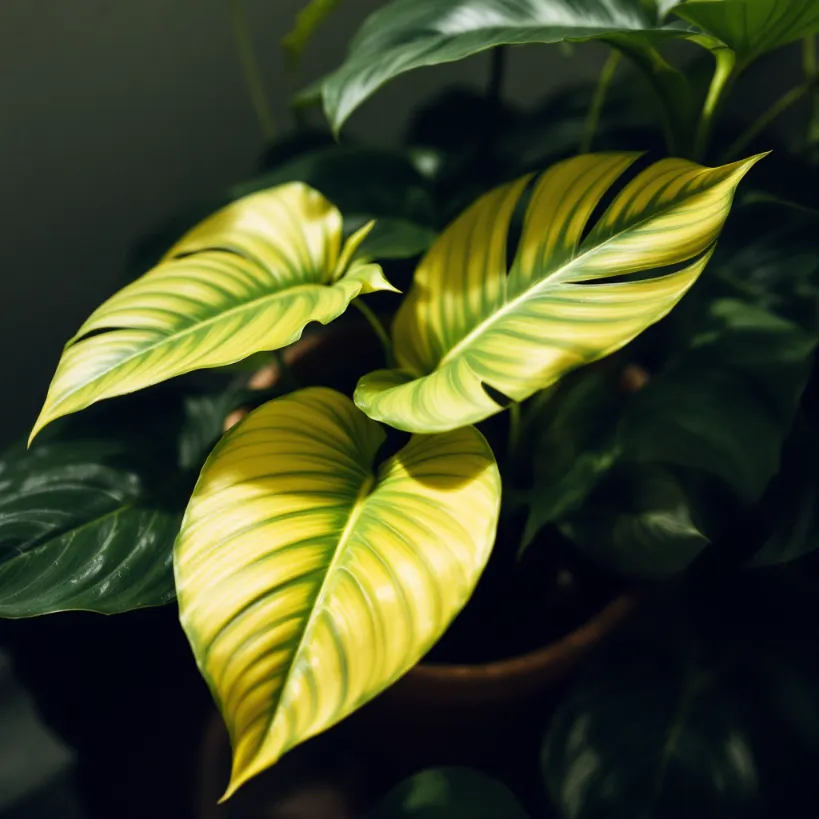
- Yellow Leaves: Could be too much water, not enough water, or not enough nutrients. Check the soil. Adjust accordingly.
- Brown, crispy leaves: probably not enough water or humidity. Water more often, and mist the leaves.
- Brown spots: could be many things! Here you have the guide to why my philodendron has brown spots.
- Droopy Leaves: Could be anything! Check the soil moisture, light, and temperature. Give it time to adjust.
- Leggy Growth: Not enough light. Move it to a brighter spot.
- Here you have more info about troubleshooting philodendron plants:
- No Growth: Could be many things. Make sure it’s getting the basics (light, water, nutrients). Sometimes plants just take a break.
Advanced Moves: Leveling Up Your Philodendron Game
Once your cutting is happy and growing, you can try some more advanced stuff:
- [Philodendron Propagation Tips and Tricks]: Make more plants! It’s like free money, but with plants.
- Staking: Some philodendrons like to climb. Give them a moss pole or trellis.
- Repotting: Eventually, your plant will outgrow its pot. Repot in the spring, using a pot that’s just one size bigger. Here is How to Repot a Philodendron.

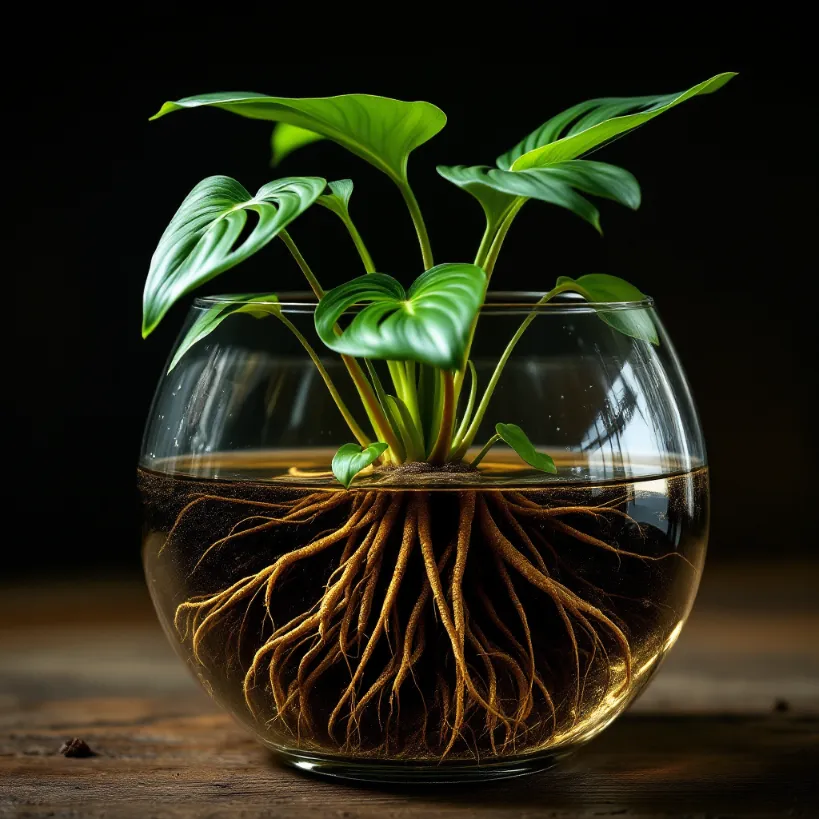
Soil vs. Water Propagation: A Quick Comparison
| Method | The Good | The Not-So-Good |
|---|---|---|
| Water | See the roots grow! Easy to set up. | Rot is a risk. Roots can be weaker when moved to soil. |
| Soil | Stronger roots from the start. Less shock when transplanting. | Can’t see the roots. Need to keep the soil consistently moist (but not wet). |
That’s it. You’re now equipped to transplant philodendron cuttings like a seasoned pro (or at least like someone who read a really good guide). Go forth and propagate!
References:
[1] https://xanhxanhurbanforest.com/how-to-plant-philodendron-cuttings-in-soil/
[2] https://www.plantsforallseasons.co.uk/blogs/philodendron-care/how-to-propagate-philodendron
[3] https://www.youtube.com/watch?v=tA-sFk_wTwE
[4] https://www.plantvault.com/blogs/propagation/how-to-propagate-philodendron
[5] https://www.youtube.com/watch?v=-L_qI5v_AYE
[6] https://greg.app/propagate-philodendron-subhastatum/
[7] https://cleverbloom.com/transfer-your-cuttings-to-soil/
[8] https://greg.app/propagate-philodendron-panduriforme/
[9] https://www.bumbleplants.com/blogs/plants/how-to-propagate-velvet-philodendron-successfully
[10] https://www.livelyroot.com/blogs/plant-care/how-to-propagate-philodendron
[11] https://www.thespruce.com/philodendron-propagation-7113317
[12] https://greg.app/propagate-silver-cloud-philodendron/
Recommended Articles
- For more insights on this topic, you might find our exploration of How to Grow Spider Plants Outdoors: Expert Care Guide valuable How to Grow Spider Plants Outdoors: Expert Care Guide.
- To understand this better, consider reading about Green Spider Plant Care: 7 Expert Tips for Lush Growth & Easy Propagation Green Spider Plant Care: 7 Expert Tips for Lush Growth & Easy Propagation.
- This approach is complemented by the strategies outlined in our Solid Green Spider Plants: Care Tips & Air Purification resource Solid Green Spider Plants: Care Tips & Air Purification.