 Skip to content
 Did you know that over 90% of plant enthusiasts have successfully propagated their Philodendrons at home? If you love philodendrons, you should learn how to propagate them to expand your collection or share them with others.
In this article, we’ll explore the most effective methods for philodendron propagation. Whether you’re a beginner or an experienced plant parent, you’ll find these techniques simple and rewarding. Let’s dive in!

Key Takeaways
- Philodendron stem cuttings are the easiest and most popular method.
- Water propagation lets you watch roots grow before planting.
- Soil propagation means fewer steps—just plant and wait.
- Air layering works great for bigger plants with thick stems.
- Keep the right temperature and humidity for faster roots.
- Avoid common mistakes like overwatering or using dirty tools.
Philodendron Propagation Methods: The Real Deal
So there you are, staring at your philodendron—maybe it’s grown wild, maybe it’s looking sad. You think, “Time for a haircut,” but not just any haircut. You’re about to make more plants from one. That’s right—philodendron propagation is your ticket to turning a single leafy friend into a whole green family.
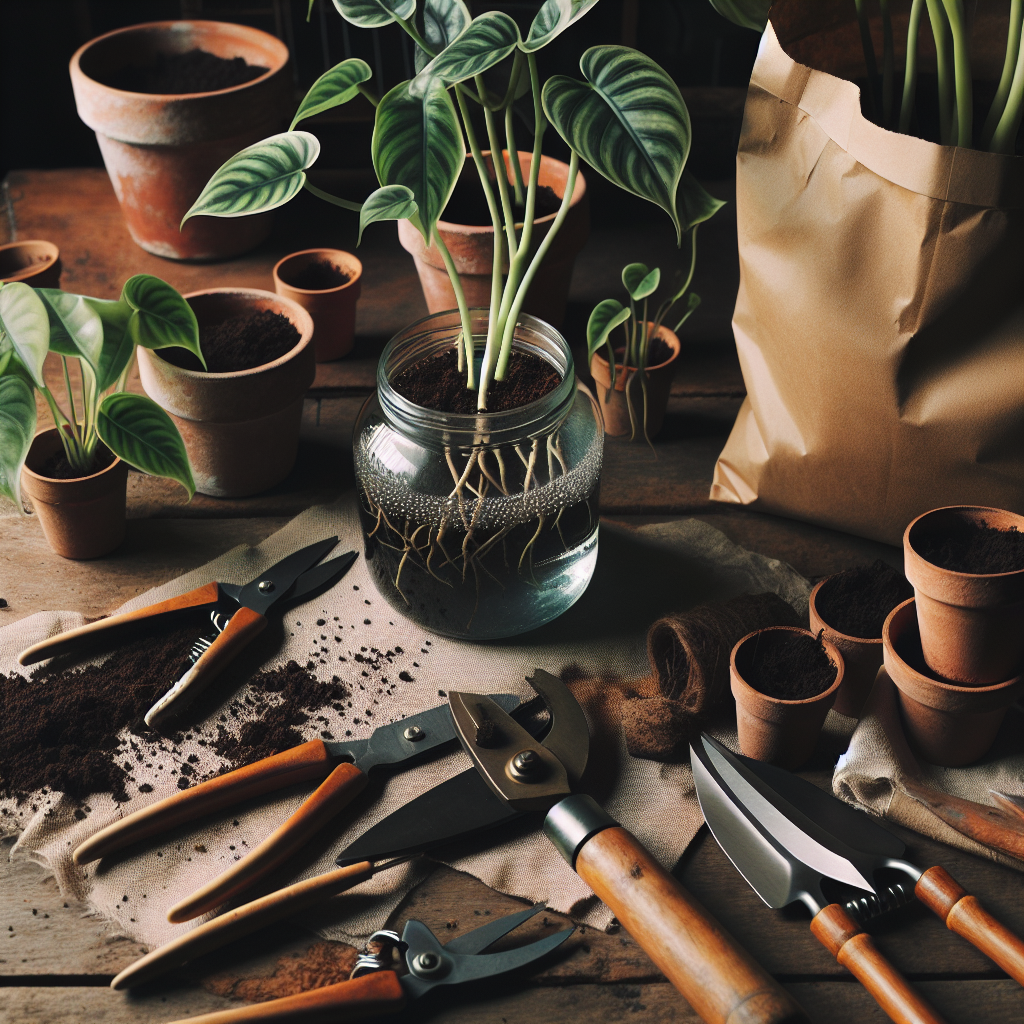
You don’t need fancy tools or special skills. Just some scissors, water or soil, and a little patience. Let’s dive into the best philodendron propagation methods without any fluff or fuss.
What You Need for Philodendron Propagation
Before we get started, make sure you have the following supplies:
-
A healthy Philodendron plant
-
Clean, sharp scissors or pruning shears
-
Rooting hormone (optional but recommended)
-
A clean pot or container with drainage holes
-
Well-draining potting mix
-
Water
| Supply | Purpose |
|---|---|
| Healthy Philodendron | The parent plant for propagation |
| Clean, sharp scissors or shears | For making clean cuts without damaging the plant |
| Rooting hormone | Encourages faster root growth (optional) |
| Clean pot with drainage | For planting the propagated cuttings |
| Well-draining potting mix | Provides the right environment for root development |
| Water | To keep the soil moist for the cuttings |
Stem-cutting propagation
Stem cutting is the most common and straightforward method for propagating Philodendrons. Here’s how to do it:
-
Choose a healthy stem with at least two leaves and a node (the bump where leaves and roots grow from).
-
Using clean scissors, cut the stem just below the node.
-
Remove the lower leaves, leaving only the top two.
-
If you are using rooting hormone, make sure to dip the cut end into it.
-
Plant the cutting in a pot filled with moist, well-draining potting mix.
-
Place the pot in a warm, bright spot, but out of direct sunlight.
-
Keep the soil moist but not soggy, and roots should develop within 4-6 weeks.
| Step | Action |
|---|---|
| 1 | Select a healthy stem with at least 2 leaves and a node |
| 2 | Cut the stem just below the node with clean scissors |
| 3 | Remove lower leaves, leaving the top two |
| 4 | Dip-cut end in rooting hormone (optional) |
| 5 | Plant cuttings in a pot with moist, well-draining potting mix |
| 6 | Place pot in a warm, bright spot out of direct sunlight |
| 7 | Keep soil moist, not soggy; roots develop in 4-6 weeks |
For more tips on caring for your Philodendron cuttings, check out our article on rooting Philodendron cuttings.
Air Layering Propagation
Air layering is another effective method for propagating philodendrons, especially for larger plants or those with woody stems. Here’s how it works:
-
Choose a healthy stem and locate a node.
-
Using a clean, sharp knife, make a small cut about 1/3 of the way through the stem, just below the node.
-
Apply rooting hormone to the area where the stem was cut.
-
Wrap the cut area with moist sphagnum moss and secure it with plastic wrap and twist ties.
-
Keep the moss moist, and the roots should develop within 4–8 weeks.
-
Once roots have formed, cut the stem below the rooted area and plant it in a pot with a well-draining potting mix.
| Step | Action |
|---|---|
| 1 | Select a healthy stem and find a node |
| 2 | Make a small cut 1/3 through the stem below the node with a clean knife |
| 3 | Apply rooting hormone to the cut area |
| 4 | Wrap cut area with moist sphagnum moss; secure with plastic wrap and twist ties |
| 5 | Keep moss moist; roots develop in 4–8 weeks |
| 6 | After roots form, cut stem below rooted area and plant in pot with well-draining mix |
[Insert image of air layering propagation steps]
Division Propagation
Division is a great way to propagate mature Philodendrons that have outgrown their pots. Here’s how to divide your plant:
-
Remove the plant from its pot and gently shake off excess soil.
-
Identify natural divisions in the root system where you can separate the plant into smaller sections.
-
Using clean, sharp scissors or your hands, carefully divide the plant, ensuring each section has roots and leaves.
-
Plant each section in its own pot filled with a well-draining potting mix.
-
Water the newly potted divisions and place them in a warm, bright spot out of direct sunlight.
| Step | Action |
|---|---|
| 1 | Remove plant from pot and gently shake off excess soil |
| 2 | Find natural divisions in root system to separate plant |
| 3 | Use clean scissors or hands to carefully divide plant; ensure each section has roots and leaves |
| 4 | Plant each section in its own pot with well-draining mix |
| 5 | Water newly potted divisions; place in warm, bright spot out of direct sun |
If you’re unsure about how to replant your Philodendron divisions, we have a helpful guide that walks you through the process.
Caring for Your Newly Propagated Philodendrons
Once you’ve successfully propagated your philodendrons, it’s essential to provide them with the proper care to ensure they thrive. Here are some tips:
-
Keep the soil moist but not waterlogged. Philodendrons prefer evenly moist soil but can be susceptible to root rot if overwatered.
-
Provide bright, indirect light. Philodendrons do best in bright, indirect light but can tolerate lower light conditions.
-
Fertilize regularly during the growing season. Use a balanced, water-soluble fertilizer every 4–6 weeks to promote healthy growth.
-
Prune as needed to maintain shape and size. Remove any dead, damaged, or yellowing leaves as they occur.
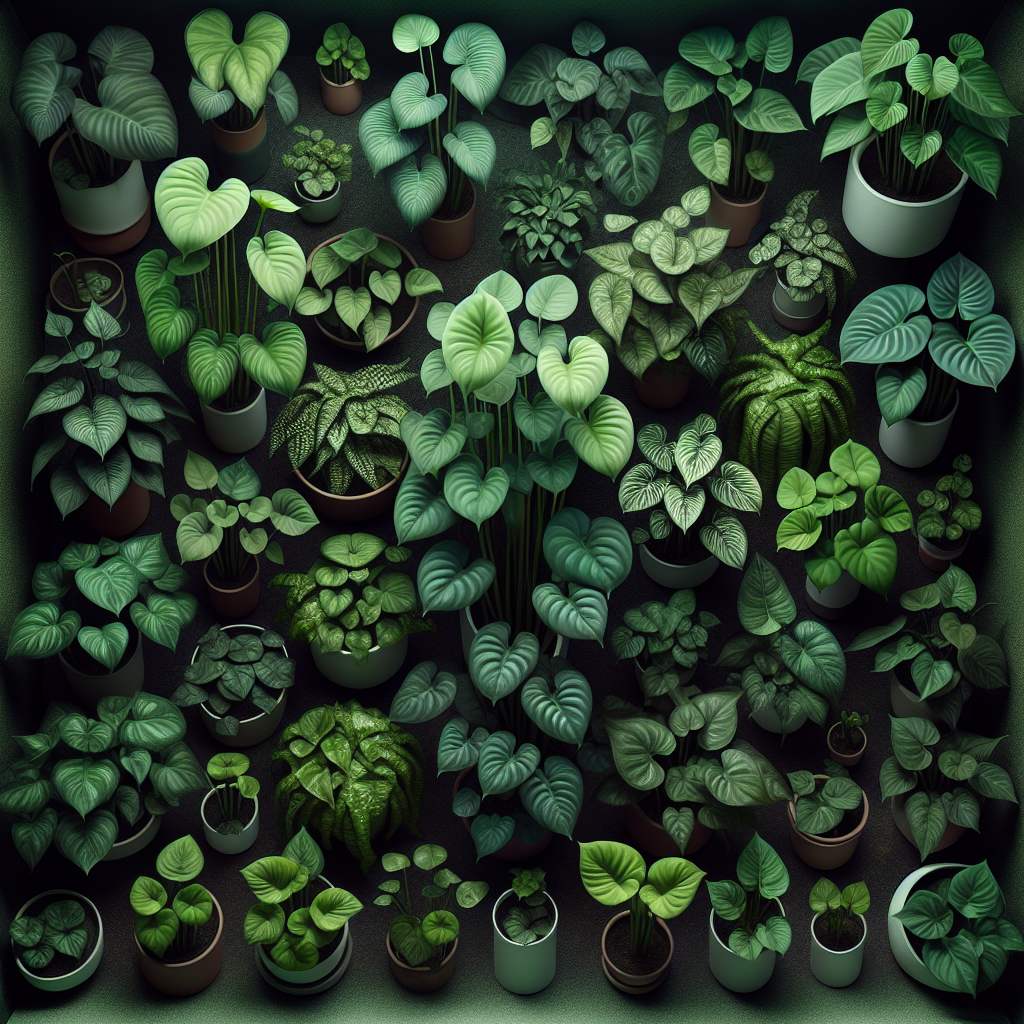
[Insert image of a healthy, thriving Philodendron]
For more information on caring for your philodendrons, read our comprehensive guide on Philodendron care.
Latest Research on Philodendron Propagation
Recent studies have shown that using rooting hormone can significantly increase the success rate of philodendron propagation.
A 2021 study published in the Journal of Horticultural Science and Biotechnology found that applying a rooting hormone containing indole-3-butyric acid (IBA) at a concentration of 1000 ppm resulted in a 95% success rate for Philodendron stem cuttings. Another study published in the same journal in 2020 compared the effectiveness of different potting mixes for Philodendron propagation.
The researchers found that a mix containing equal parts peat moss, perlite, and vermiculite provided the best drainage and aeration for root development, leading to healthier and more vigorous plants. These findings highlight the importance of using the right techniques and materials when propagating philodendrons to ensure the best possible outcomes.
Common Mistakes and Solutions
Hey, sometimes things go wrong—but that’s okay:
| Problem | Solution |
|---|---|
| Cuttings rot in water | Change water more often; keep container clean |
| No roots forming | Check temperature (70–80°F is best); increase humidity |
| Leaves turning yellow | Too much direct sun; move to indirect light |
| Moldy soil | Water less frequently; improve drainage |
| Leaves wilting after planting | Increase humidity around plant |
Conclusion
Propagating philodendrons is a fun and rewarding way to expand your plant collection and share your love for these beautiful plants with others. By following the simple methods outlined in this article and staying up-to-date with the latest research, you’ll be well on your way to successfully multiplying your philodendrons.
Remember to choose healthy parent plants, use clean tools and supplies, and provide your newly propagated plants with the proper care and attention they need to thrive.
Happy propagating!
References
For more detailed information about philodendron care and propagation methods, check these helpful resources: