 Skip to content
 By Alexios Papaioannou · PlantasticHaven · Last reviewed June 18, 2026
Quick answer: Brown spots on houseplant leaves can come from overwatering, root stress, fungal or bacterial leaf spots, sun scorch, pest damage, mineral buildup, cold injury, or dry-air stress. The shape and pattern matter. Wet-looking spots that spread need caution; crispy edges usually point to dryness, salts, heat, or inconsistent watering.
The practical answer before you touch the plant
Brown spots on houseplant leaves can come from overwatering, root stress, fungal or bacterial leaf spots, sun scorch, pest damage, mineral buildup, cold injury, or dry-air stress. The shape and pattern matter. Wet-looking spots that spread need caution; crispy edges usually point to dryness, salts, heat, or inconsistent watering. The fastest way to improve the plant is to match the visible pattern to the root cause. Do not water, repot, prune, fertilize, and spray in the same session unless there is active rot or a spreading pest outbreak. A plant that receives one correct change is easier to read than a plant hit with five emergency fixes at once.
Most indoor plant failures come from a small set of repeated conditions: weak light, a pot without drainage, dense old mix, watering by habit, roots sitting wet, a plant placed near heat or cold, or pests that were not identified early. The rest of this article turns those conditions into clear decisions so you know what to do first, what to ignore, and when to escalate.
Decision table: choose the safest next step
This table is meant to prevent the most common mistake: treating every symptom as the same problem. Similar-looking leaves can come from opposite causes. Drooping can happen when roots are dry or when roots are suffocating in wet soil. Yellowing can be normal aging or a root-zone warning. Spots can be pests, scorch, salts, or disease pressure. The best first step is the one that checks the plant without creating new stress.
Step-by-step method
- Decide whether spots are crispy, soft, wet-looking, speckled, ringed, or patchy.
- Check whether the spots are mostly on old leaves, new leaves, sun-facing leaves, or lower leaves.
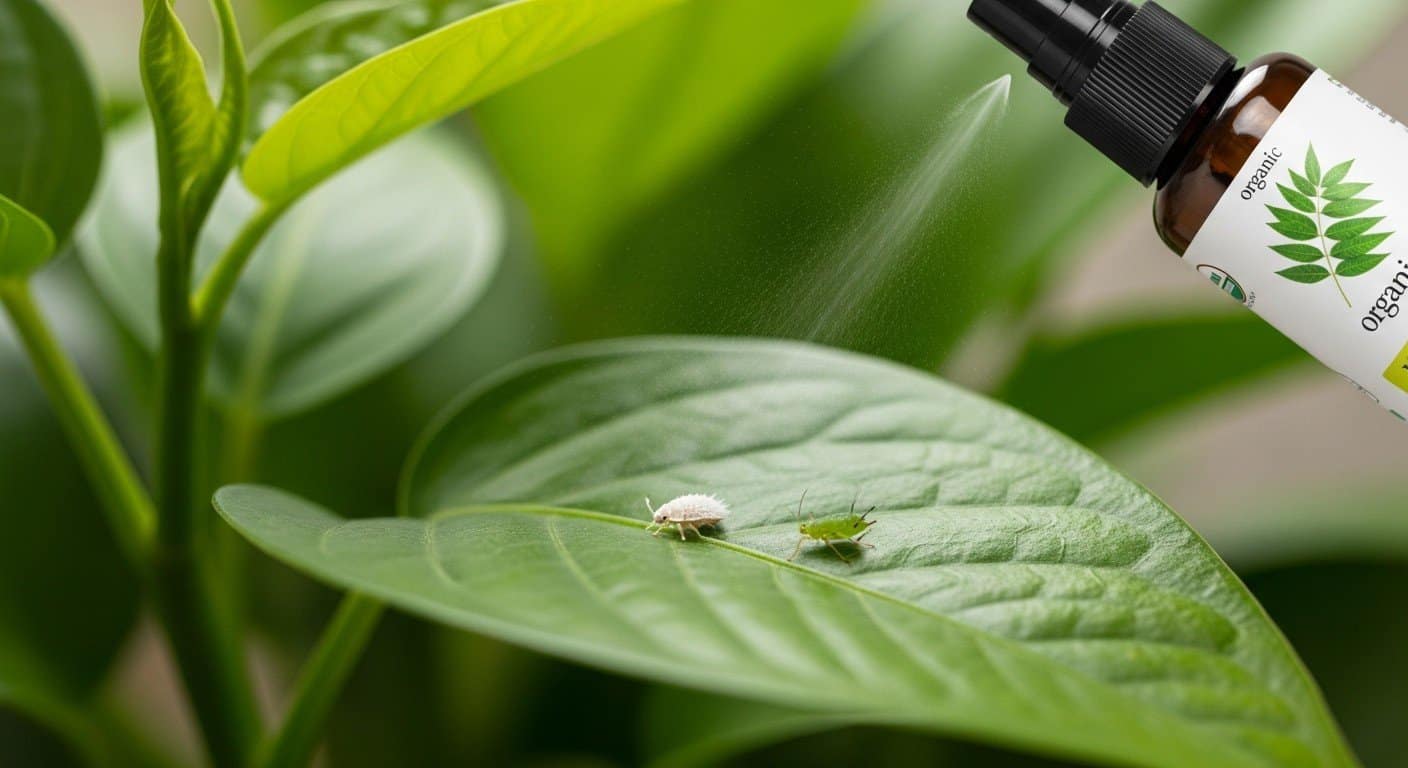
- Inspect leaf undersides and stems for pests.
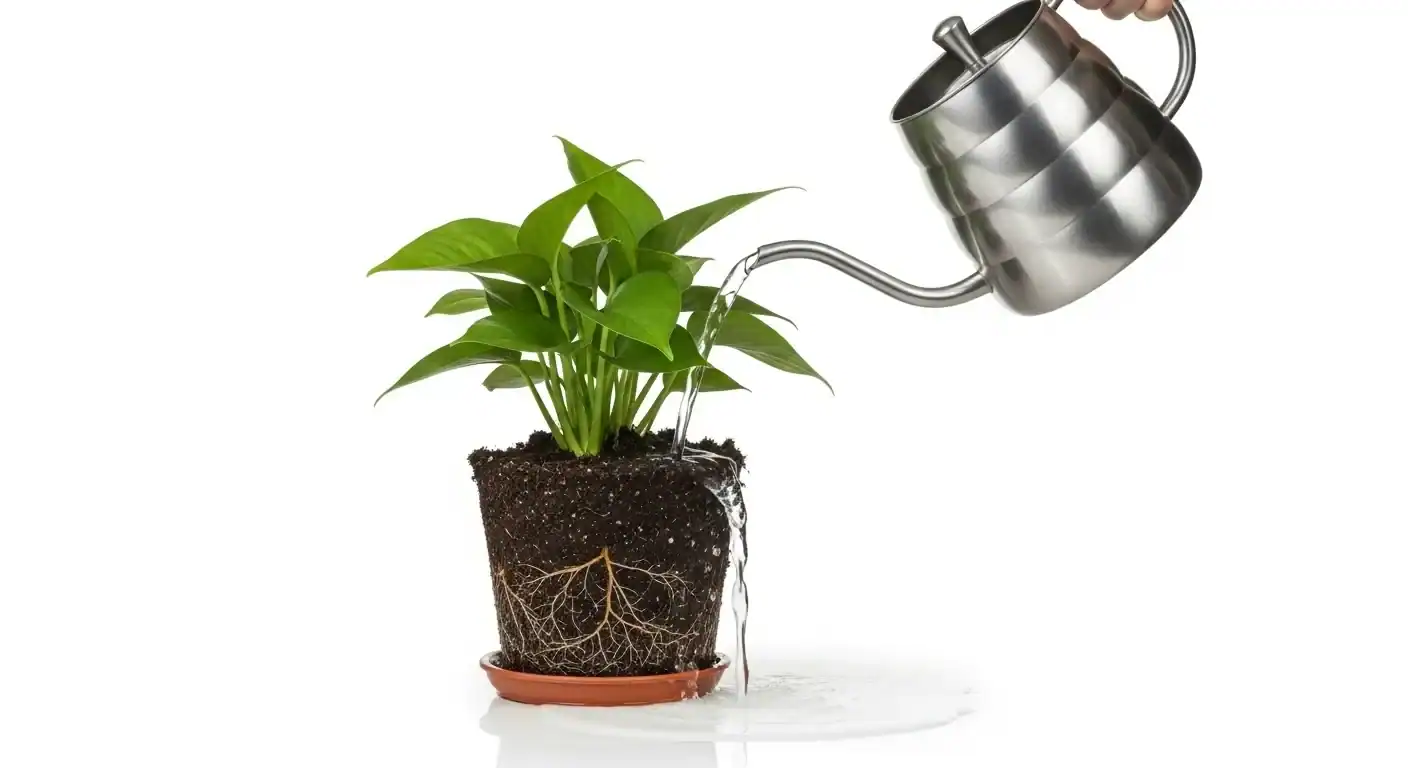
- Check soil moisture and drainage before watering again.
- Remove only badly damaged, mushy, or disease-suspect leaves with clean tools.
- Improve airflow and avoid wetting leaves late in the day.
- Move plants away from hot direct sun, cold glass, or heater vents.
- If spots keep spreading, isolate the plant and reassess roots, pests, and possible disease pressure.
How to read the plant before you change the routine
The most useful habit with brown spots on plant leaves is to slow down for one minute and read the whole plant. A single imperfect leaf can be old damage, but a repeating pattern tells you the plant is responding to something in the room. Check the newest leaves, the oldest leaves, the stem or crown, the surface of the soil, the drainage holes, and the weight of the pot. Those clues matter more than a rigid care calendar.
Start with moisture and light because they control almost every indoor plant decision. A plant in strong indirect light can use water faster, grow denser leaves, and recover from small mistakes more easily. A plant in weak light grows slowly, uses water slowly, and can look overwatered even when you are not pouring huge amounts of water. The room decides how often the roots receive both moisture and oxygen.
Next, check whether the symptom is spreading. Old leaves that are already scarred, yellowed, torn, or curled usually do not become perfect again. What matters is whether new growth looks cleaner and whether the same problem keeps appearing after you correct the obvious cause. If the newest growth is healthy, the pot dries predictably, and the plant holds itself firmly, the routine is probably moving in the right direction.
Be extra cautious when the symptom is spreading quickly, the soil smells sour, the base feels soft, pets have chewed the plant, or pests are visible on more than one plant. That is the point where guessing becomes risky. Do not stack every fix at once. Changing the soil, moving the plant, watering differently, pruning hard, fertilizing, and spraying on the same weekend can create a second stress event that hides the original cause. Pick the safest likely cause, correct it, and observe for a full cycle unless the plant is actively rotting or pests are spreading.
A strong recovery pattern looks like this: new growth looks normal, the plant stops declining, the pot dries at a predictable pace, and no new pests or soft tissue appear. A weak recovery pattern looks like repeated wilting, a sour pot smell, fresh yellowing on new leaves, collapsing tissue, sticky residue, webbing, or soil that never dries. When the weak pattern appears, go back to the root zone and the light source before buying another product.
For most readers, the best care upgrade is not a complicated product. It is a more accurate check: look at light, feel the soil, lift the pot, inspect the undersides, and confirm drainage. Once those checks become routine, the plant usually becomes far easier to maintain.

Root zone, light, and leaves: the three-part check
The root zone tells you whether the plant has access to oxygen and moisture. The light level tells you how quickly the plant can use that moisture. The leaves tell you how the plant has been responding over time. When those three checks agree, the diagnosis is usually straightforward. When they disagree, pause before acting.
For example, limp leaves with dry soil point toward drought. Limp leaves with wet soil point toward root stress. Yellowing with one old lower leaf may be normal aging. Yellowing across several leaves with a heavy pot suggests a deeper problem. Crispy tips in a dry room can come from uneven moisture, salts, or warm airflow, while soft translucent spots need a different response.
When not to repot
Repotting is useful when the soil is compacted, roots are rotting, the pot is the wrong size, or the plant is genuinely root-bound. It is not useful as a reflex for every yellow leaf or curled edge. Repotting a stressed plant into an oversized pot can make moisture problems worse. Inspect first, then repot only when the evidence points to soil or root trouble.
Why brown spots on houseplant leaves appears in real homes
Brown Spots On Houseplant Leaves usually develops from several small conditions working together, not from one mysterious plant failure. A pot can be slightly too large, the room can be slightly too dim, the soil can hold water slightly too long, and the plant can be watered slightly too soon. Any one of those details may look harmless, but together they create the pattern that finally shows up in the leaves, roots, stems, or soil surface.
That is why this article does not recommend a single magic fix. The correct answer depends on what the pot is doing after watering, how much usable light reaches the leaves, whether the roots are firm, whether pests are present, and whether the symptom is spreading. The same visible symptom can have opposite causes. A limp plant can be dry or drowning. A yellow leaf can be normal aging or root stress. A brown mark can be old mechanical damage or an active pest problem.
Room-by-room adjustments
In a bright kitchen or living room, plants often use water faster because light and warmth are stronger. That does not mean watering should become automatic; it means you should check more often. In a bedroom, office, hallway, or north-facing room, the pot may dry much more slowly. In a bathroom, humidity can help foliage but still leave the surface of the potting mix damp if light is weak. In winter, a plant that behaved well in May may need a calmer routine because daylight is shorter and growth is slower.
Two matching plants can need different care when one sits in terracotta near a bright window and the other sits in plastic inside a decorative cachepot across the room. The container, room, soil, season, and root mass decide how the general advice behaves. That is why the best brown spots on plant leaves routine is built from observation rather than copied blindly from a calendar.
When to wait and when to act immediately
Wait when the issue is one older leaf, one dry edge, one old scar, or one symptom that is not spreading. Plants are living things, and not every imperfection is a crisis. If the plant is otherwise firm, producing normal growth, and drying predictably, a small cosmetic flaw can be monitored instead of treated aggressively.
Act immediately when tissue is mushy, stems collapse, pests are moving, sticky residue appears, webbing spreads, soil smells sour, roots are black and soft, or a pet has chewed the plant. Immediate action does not mean random action. It means isolate when needed, inspect carefully, remove the most obvious source of harm, and choose the least disruptive fix that addresses the evidence.
How to measure success after the fix
Success rarely means damaged leaves turn perfect again. Brown tissue stays brown, fully yellow leaves rarely become green, and old curled leaves may keep their shape. Success means the problem stops spreading, new growth looks normal, the plant holds itself firmly, the pot dries at a predictable pace, and you can explain why each care step was taken.
If the problem returns, check the hidden constraint. Is the plant still too far from the window? Is the cover pot holding runoff? Is the potting mix old and compacted? Is the root ball too small for the pot? Are pests hiding under leaves? The repeat problem usually points to the condition that was not corrected the first time.
Advanced troubleshooting matrix
What experienced plant owners do differently
Experienced plant owners do not memorize one rule for every plant. They learn how each pot behaves in each room. They know what a dry pot feels like, how the leaves look before and after watering, how long soil takes to dry after a cloudy week, and where pests hide before damage becomes obvious. They also avoid unnecessary rescues. A plant that is stable is allowed to stay stable.
Use this page as a repeatable system: read the pattern, check the root zone, check the light, inspect for pests, make one correction, and judge the next growth. This method is slower than guessing, but it prevents the common cycle of watering, repotting, pruning, fertilizing, and spraying until the plant is more stressed than before.
Real-world examples for brown spots on houseplant leaves
Search results often give short answers, but indoor plant care happens in specific rooms with specific habits. Use these examples to match the article to your actual home before you decide what to do next for brown spots on plant leaves.
The plant across the room from a window
A plant can look close to light from your perspective and still receive very little usable light. If growth is weak and soil stays wet, move the plant closer to bright indirect light before assuming the plant needs more water or fertilizer.
The decorative pot with no drainage
A cover pot can hide standing water after every watering. Lift the inner pot, drain fully, and never let roots sit in runoff.
The oversized repot
A larger pot sounds generous, but too much unused soil holds water around a small root system. Size up gradually.
The weekly watering habit
A weekly reminder should mean check the plant, not automatically water the plant. The correct interval changes with season, light, and pot size.
The one ugly leaf
One damaged leaf is not always a diagnosis. Check whether new growth is healthy and whether the problem is spreading before making major changes.
The plant after a move
A new room changes light, temperature, airflow, and dry-down speed. Keep care stable for a short observation period unless severe symptoms appear.
Reader-safe final checklist
- Confirm the plant or problem before treating it.
- Check light, drainage, soil moisture, and root-zone clues before buying supplies.
- Use one correction at a time unless rot, pests, or pet ingestion makes faster action necessary.
- Keep pets, children, food-prep areas, and aquariums in mind before using any product.
- Judge recovery by new growth, stable roots, predictable dry-down, and stopped spread.
- Use the internal links in this article to move to the next most specific PlantasticHaven guide instead of searching randomly.
The best result is a plant-care decision you can explain: what you saw, what you checked, what you changed, and what you will watch next. That is what turns brown spots on houseplant leaves from a frustrating search query into a manageable houseplant routine.
Common mistakes to avoid
- Changing everything at once. One well-chosen correction beats five guesses.
- Watering without checking the soil. A calendar can remind you to inspect the plant, but it should not decide for the roots.
- Ignoring light. Low light slows growth and dry-down, so many water problems are really light-placement problems too.
- Using products as shortcuts. Fertilizer, sprays, meters, and mixes help only when they match the diagnosis.
- Judging recovery by old damage. Watch new growth and whether the problem stops spreading.
- Forgetting pets and children. Plant placement matters as much as plant care in shared homes.
Simple 30-day action plan
FAQ
Should I cut off leaves with brown spots?
Remove leaves that are mostly dead, mushy, pest-covered, or likely diseased. Keep partly functional leaves if the plant is small and the spot is not spreading.
Are brown spots from overwatering?
Sometimes. Overwatering can damage roots and cause leaf spotting, but pests, sun scorch, salts, cold, and leaf disease can look similar.
Can brown spots turn green again?
No. Brown dead tissue does not heal back to green. Success means the spots stop spreading and new growth appears clean.
Why are brown spots appearing after I moved the plant?
A sudden move can change light intensity, temperature, airflow, and dry-down speed. Check for sun scorch, cold stress, or watering mismatch after the move.
Are black spots worse than brown spots?
Dark, soft, spreading spots deserve faster action because they can indicate severe tissue damage, wet conditions, or disease pressure. Isolate if the pattern is spreading.
Sources and useful references
Editorial note
This article is written for normal indoor homes, not perfect greenhouse conditions. The safest plant-care advice starts with observation: light, drainage, soil texture, root health, leaf pattern, temperature, pests, and pet access. Plant response varies by room and season, so the article gives decision rules rather than impossible guarantees.
Last reviewed by PlantasticHaven editorial: June 18, 2026. Before using any pesticide, fertilizer, soil additive, or pet-safety decision, read the label or contact the relevant professional source. For urgent pet ingestion concerns, contact a veterinarian or poison-control resource immediately.