Philodendron Birkin plants multiply easy as hell. Cut a stem below a node, stick it in water, wait for roots, plant in soil. That’s it. These white-striped beauties make babies fast if you know what you’re doing.
The process takes about 3-4 weeks from cutting to planting, and almost anyone can do it. No fancy tools needed — just scissors, water, and patience.
You want more Birkins without spending cash? Good. I’ll show you how to turn one plant into many with minimal fuss. These plants aren’t picky about propagation. They just want basic respect and a clean cut.
Key Takeaways
- Always cut below a node – this is where new roots grow from
- Use clean, sharp scissors to prevent plant infections
- Spring and summer give the best propagation results
- Water propagation works best for beginners – you can see the roots forming
- Roots typically appear within 7-14 days in water
- Keep new cuttings in indirect light – direct sun burns them
What Makes Philodendron Birkin Special
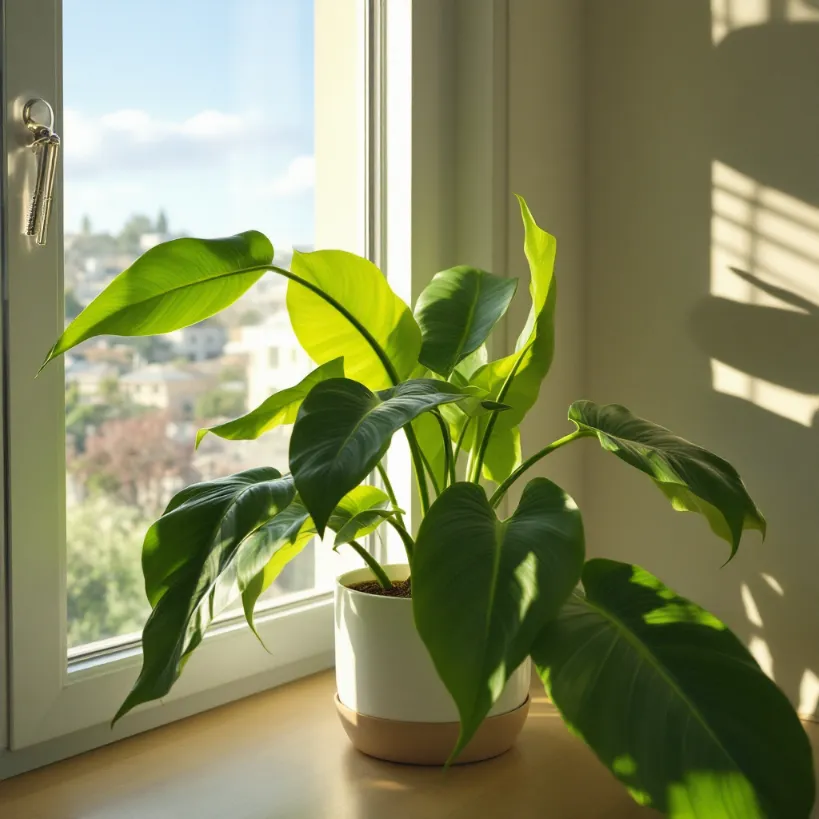
The Philodendron Birkin isn’t just another green blob sitting on your windowsill. It’s a standout with white pinstriped leaves that look like someone took a paintbrush to them. This houseplant emerged as a rare mutation of the Philodendron Rojo Congo – making it pretty special in the plant world.Unlike some fussy plants, the Birkin grows at a decent pace. Not too fast, not too slow. Just right for people who want to see progress without being overwhelmed. The white stripes get more pronounced as the plant matures, making each leaf a little different from the last.
Best Methods to Propagate Philodendron Birkin
There are three main ways to make baby Birkins. Let’s break them down.
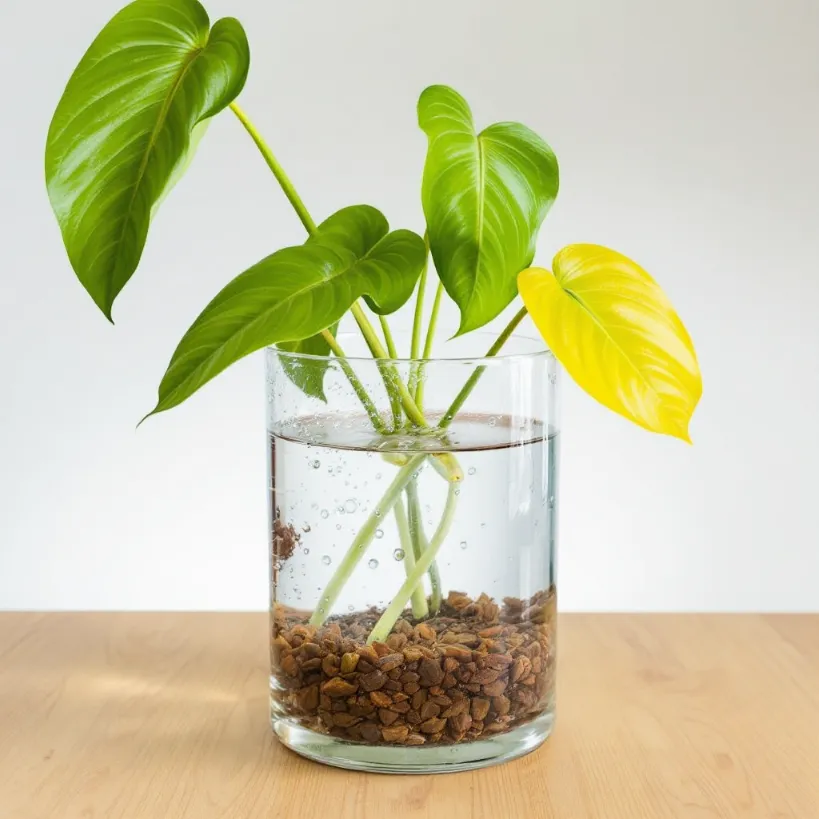
Water Propagation
This method rules for beginners. You can watch the whole show – roots emerging, growing longer, multiplying. It’s satisfying as hell.
- Cut a stem with at least one node and one leaf
- Remove any leaves that would sit below the waterline
- Place in a clear container with room temperature water
- Change the water every 3-5 days to prevent rot
- Wait for roots to reach 1-2 inches long
- Plant in soil
The entire process from cutting to soil-ready plant takes about 3-4 weeks. Roots usually start showing within the first 7-14 days if conditions are right.
Soil Propagation
Some people skip the water phase and go straight to soil. It works, but you can’t see what’s happening underground.
- Prepare a small pot with moist, well-draining soil mix
- Dip your cutting in rooting hormone (optional but helpful)
- Plant the cutting so the node is covered
- Keep the soil moist but not soggy
- Place a clear plastic bag over the pot to create humidity
- Remove the bag for an hour daily for air circulation
Soil propagation takes patience. You won’t know if it’s working until you see new growth above ground, usually in 3-6 weeks.
Propagation in Sphagnum Moss
This middle-ground method combines benefits of both water and soil propagation.
- Soak sphagnum moss in water, then squeeze out excess
- Place damp moss in a container
- Insert your cutting so the node contacts the moss
- Cover with a clear lid or plastic bag
- Open daily for air circulation
- Keep moss damp but not soaking wet
This method typically produces strong, healthy roots within 2-3 weeks, ready for soil transfer.
Step-by-Step Guide to Water Propagation
Let’s get into the details of water propagation – the easiest way to propagate Philodendron Birkin for beginners.
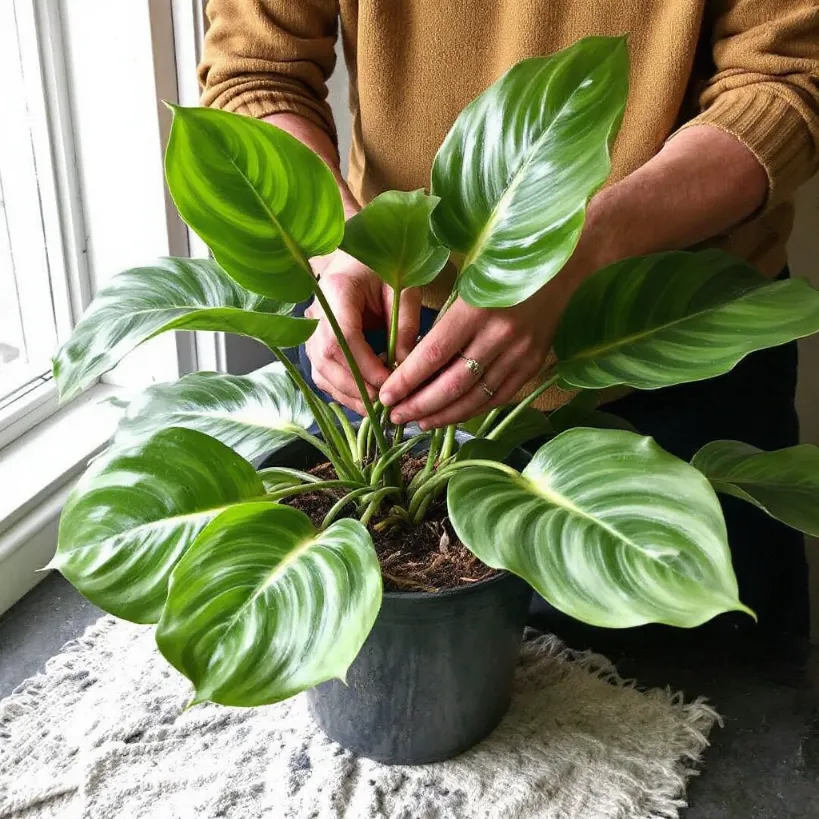
1. Choose the Right Cutting
Find a healthy stem with:
- At least one node (the bumpy part where leaves attach)
- One or two leaves (more than that stresses the cutting)
- No signs of damage, disease, or pests
- Ideally 4-6 inches long
The node is critical – without it, your cutting is just a stick in water. It won’t grow roots.
2. Make a Clean Cut
Use sharp scissors or pruning shears. Dull blades crush plant tissue and reduce success rates. Cut about 1/4 inch below a node at a 45-degree angle. This increases the surface area for water absorption and root formation.Sterilize your cutting tool with rubbing alcohol before use. Plants get infections too, and dirty tools spread them.
3. Prepare the Cutting
Remove any leaves that would sit below the waterline. Submerged leaves rot and contaminate the water. Leave one or two healthy leaves at the top of the cutting.Some people let the cut end callus for a few hours before placing it in water. This can reduce rot but isn’t strictly necessary for Philodendrons.
4. Choose the Right Container
Clear glass containers work best. They let you monitor root development and water quality. The container should be:
- Clean and sterile
- Large enough to support the cutting without tipping
- Small enough that the cutting doesn’t get lost in it
- Filled with enough water to cover the node(s)
A small jar, shot glass, or propagation tube works perfectly.
5. Use the Right Water
Room temperature, chlorine-free water gives best results. If you use tap water, let it sit out overnight so chlorine can evaporate. Rainwater or filtered water works even better.Don’t use distilled water – it lacks minerals plants need for root development.
6. Place in Proper Light
Put your cutting in bright, indirect light. Direct sunlight cooks cuttings and promotes algae growth in the water. A north or east-facing window typically provides the right amount of light.Proper lighting conditions strongly affect how fast and healthy your roots develop.
7. Change Water Regularly
Replace the water every 3-5 days. Fresh water provides oxygen and prevents bacteria growth. When changing water, gently rinse the developing roots to remove any slime or debris.
8. Watch for Root Development
Roots typically begin to appear within 7-14 days. They start as small white bumps on the node, then elongate into proper roots. Wait until:
- Multiple roots have formed
- Roots are at least 1-2 inches long
- Roots have started to develop little side branches
This usually takes 3-4 weeks total, sometimes longer during colder months.
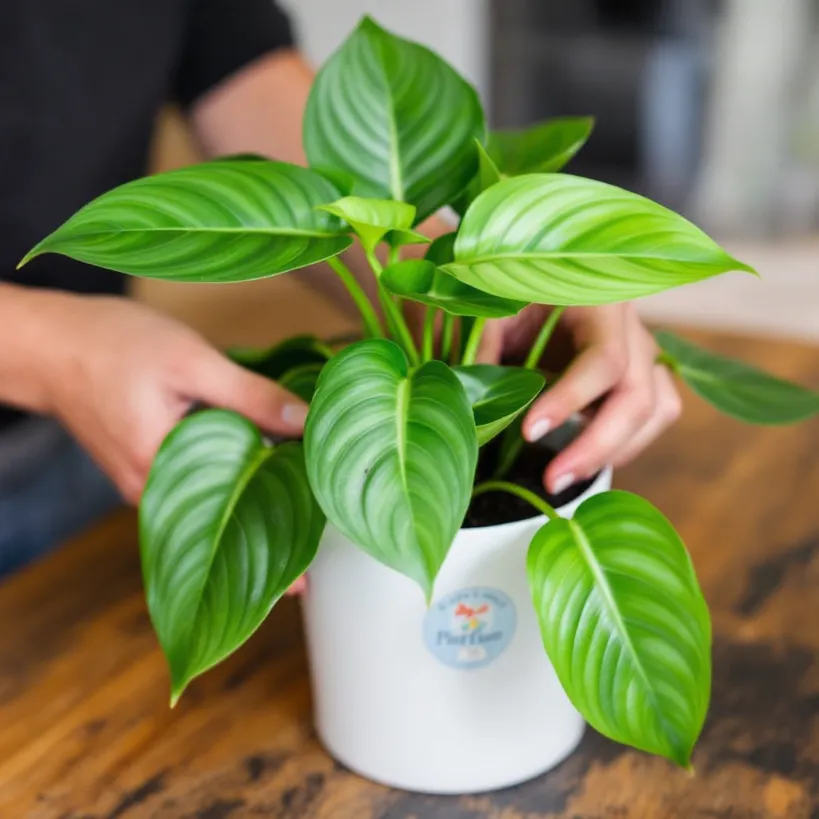
9. Transfer to Soil
When roots are well-developed:
- Prepare a small pot with well-draining soil
- Create a hole in the soil with your finger
- Gently place the rooted cutting in the hole
- Add soil around the roots without compacting too firmly
- Water thoroughly until it drains from the bottom
The transition from water to soil can shock the plant. Keep the soil consistently moist (not soggy) for the first 2 weeks to help the plant adjust.
Common Problems and Solutions
Even the easiest way to propagate Philodendron Birkin can hit snags. Here’s how to fix them.
Cutting Rotting in Water
Signs: Black or mushy stem, foul smell, cloudy water
Causes: Contaminated water, submerged leaves, poor air circulation
Solutions:
- Change water more frequently
- Trim away any rotted portions (if the node is still healthy)
- Ensure no leaves are under water
- Add a tiny drop of hydrogen peroxide to the water to increase oxygen
No Roots Developing
Signs: Weeks pass with no root growth
Causes: No node on cutting, water too cold, insufficient light
Solutions:
- Verify your cutting includes a node
- Move to a warmer location (70-80°F is ideal)
- Increase light (but keep it indirect)
- Try adding a tiny amount of liquid fertilizer to the water (extremely diluted)
Leaves Yellowing
Signs: Leaves turn yellow and may drop off
Causes: Natural stress response, too much direct sun, nutrient deficiency
Solutions:
- Some leaf yellowing is normal during propagation
- Move to less intense light
- Patient waiting – new leaves will form after rooting
Wilting Cutting
Signs: Cutting looks droopy and sad
Causes: Shock, too much light, dehydration (even in water)
Solutions:
- Mist the leaves occasionally to increase humidity
- Move to a less bright spot temporarily
- Be patient – some wilting is normal after cutting
Best Time to Propagate Philodendron Birkin
Timing matters. The best time to propagate your Philodendron is during its active growth phase – spring and summer. Plants are naturally more energetic in these seasons and put more effort into growing new roots.Avoid propagating during winter unless you provide grow lights and bottom heat. Cold, dark days make for slow, weak root development.
Caring for Newly Propagated Philodendron Birkin
Once your baby Birkin has roots and transitions to soil, it needs special care for the first few months.
Watering Needs
Newly propagated plants have delicate, limited root systems. Water needs for philodendrons change as they grow:
- First 2-3 weeks: Keep soil consistently moist (not soggy)
- Months 1-3: Allow top inch of soil to dry before watering again
- After 3 months: Treat like a mature Philodendron, allowing the top 2 inches to dry
Overwatering kills more new plants than underwatering. When in doubt, wait another day.
Light Requirements
Young Birkins need bright, indirect light – never direct sun. An east-facing window works perfectly. Too little light produces leggy, weak growth with poor variegation. Too much burns the delicate leaves.As the plant matures, it can handle slightly more light intensity, which enhances the white striping.
Humidity Needs
Young Philodendron Birkins love humidity. Aim for 50-60% humidity around new plants. Methods to increase humidity:
- Group plants together
- Use a pebble tray with water
- Run a small humidifier nearby
- Place in a naturally humid room like a bathroom (with adequate light)
Fertilizing
Hold off on fertilizing for the first 2-3 months after propagation. Young roots burn easily. After this period, use a balanced houseplant fertilizer at half strength every 4-6 weeks during growing season (spring through fall).
When to Repot Your New Philodendron Birkin
Leave your newly propagated Birkin in its first small pot until roots start growing through the drainage holes or the plant becomes visibly top-heavy. This usually takes 6-12 months.When repotting a philodendron, choose a pot only 1-2 inches larger in diameter. Too large a pot holds excess moisture and leads to root rot.
Creating a Propagation Station
Want to propagate multiple cuttings at once? Create a dedicated houseplant propagation station where you can monitor all your plant babies in one place.A simple propagation station includes:
- A well-lit location away from direct sun
- Multiple clear containers for water propagation
- Labels for each cutting (date cut, plant type)
- A spray bottle for misting leaves
- Optional: a humidity dome or clear plastic container
This setup allows you to propagate different types of philodendrons simultaneously without confusing which is which.
Troubleshooting Philodendron Birkin Propagation Issues
Still having problems? Here are solutions to less common issues.
Cutting Develops Fungus or Mold
Signs: White, fuzzy growth on cutting or in water Solutions:
- Rinse cutting thoroughly
- Change water daily until issue resolves
- Trim affected areas with sterile scissors
- Try propagating in fresh sphagnum moss instead
Leaves Develop Brown Spots
Signs: Brown patches on leaves that spread Causes: Sunburn, bacterial infection, or fungal issues Solutions:
- Move away from direct light
- Improve air circulation
- Remove severely affected leaves
- Treat with diluted neem oil if pests are suspected
Variegation Fading in New Growth
Signs: New leaves show less white striping Causes: Insufficient light, normal variation Solutions:
- Increase light (still indirect)
- Be patient – variegation often returns in subsequent leaves
- Some variation in striping is normal and part of the plant’s charm
Propagation FAQs
How many cuttings can I take from one Philodendron Birkin?
Only take cuttings from plants with multiple stems and never remove more than 1/3 of the plant at once. A mature, multi-stemmed Birkin might provide 2-3 cuttings safely.
Can I propagate from a leaf alone?
No. Unlike some plants, Philodendrons need a stem section with a node to produce roots. A leaf alone will eventually die.
How long until my propagated Birkin looks like the parent plant?
Expect 1-2 years of growth before your propagated plant develops the full, lush appearance of a mature Birkin. The distinctive white striping improves with each new leaf.
Can I propagate a Philodendron Birkin with aerial roots?
Yes! Cuttings with aerial roots often root faster in water. These aerial roots don’t replace the need for water roots, but they give the plant a head start.
My Birkin reverted to solid green. Will cuttings show variegation?
Possibly, but it’s unpredictable. Philodendron Birkin is a chimeric mutation that sometimes reverts. Cuttings from reverted sections often stay green, while cuttings from variegated parts usually retain some variegation.
Is Philodendron Birkin toxic to pets?
Yes. Like all Philodendrons, Birkins contain calcium oxalate crystals that cause mouth and digestive irritation if ingested by pets or children. Keep propagation stations away from curious pets.
Final Tips for Successful Philodendron Birkin Propagation
The journey from cutting to full plant takes patience. Remember these tips:
- Always propagate from healthy parent plants
- Spring and summer give highest success rates
- Clean tools prevent infections
- Nodes are non-negotiable for success
- Bright indirect light speeds up the process
- Warmth accelerates root growth (70-80°F ideal)
- Patience matters most – good things take time
With these approaches, you’ll soon have more Philodendron Birkins than you know what to do with. Give extras to friends or expand your indoor plant collection across every room.
References:
- https://www.youtube.com/watch?v=71R0zxswSZM
- https://greg.app/propagate-philodendron-birkin/
- https://greg.app/philodendron-birkin-propagation/
- https://www.youtube.com/watch?v=cItjLqaLt-4
- https://www.youtube.com/watch?v=h5G2cb3LoDI
- https://www.youtube.com/watch?v=hXddAKTFuNI
- https://www.youtube.com/watch?v=Jz09BkDZcgM
- https://www.mdpi.com/2311-7524/9/6/688
Recommended Articles
- For more insights on this topic, you might find our exploration of How to Root Philodendron Cuttings in Water [2025 Guide] valuable How to Root Philodendron Cuttings in Water [2025 Guide].
- For more insights on this topic, you might find our exploration of Philodendron Propagation: 5 Expert Methods for Success valuable Philodendron Propagation: 5 Expert Methods for Success.
- To understand this better, consider reading about Philodendron Verrucosum Care: Expert Tips for Velvety Leaves Philodendron Verrucosum Care: Expert Tips for Velvety Leaves.