PlantasticHaven complete care guide

Who this is for / not for
you want one complete routine for common houseplants, including light, watering, soil, repotting, pruning, fertilizing, pests, pet safety, and seasonal changes.
you are growing rare specialist species, terrarium plants, orchids in bark systems, outdoor edible crops, or plants in commercial production.
Check the plant label, the pot drainage, the window direction, recent watering, and whether pets or children can reach the leaves. Those small details prevent most bad fixes.
Clear definition
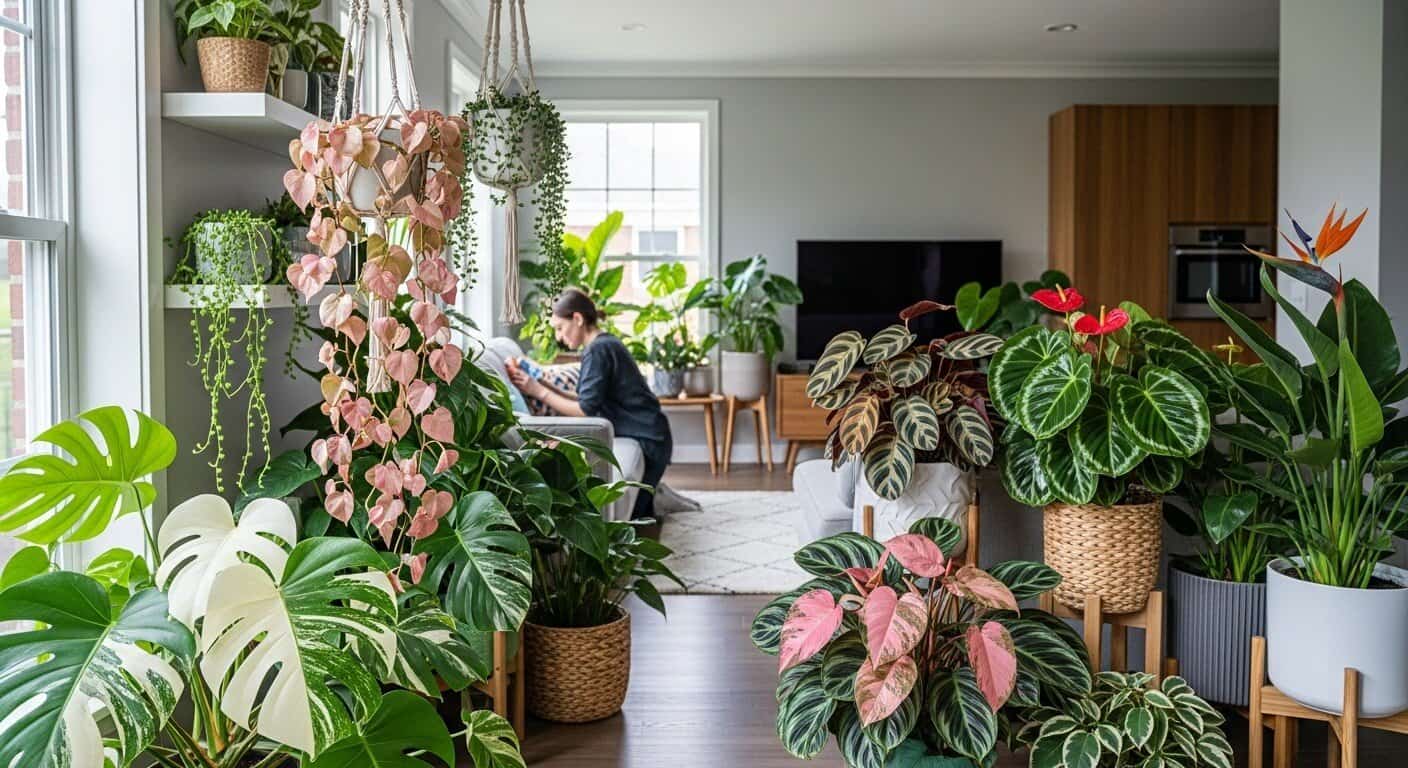
Indoor plant care is the repeatable routine that keeps houseplants alive inside a home: matching the plant to the room, giving enough light, watering at the right dry-down point, maintaining root oxygen, preventing pests, and making small seasonal adjustments instead of reacting to every leaf change with panic.
A useful plant-care definition should lead to action. In this guide, every recommendation connects the visible symptom or room condition to a practical next step: move the plant, change the watering interval, repot, isolate pests, improve drainage, or choose a better plant for the room.
Decision guide
Use this table before buying supplies or making several changes at once. Most indoor plant problems become easier when you match the symptom to the environment and correct the safest cause first.
| Situation | What it usually means | Best next step | What to avoid |
|---|---|---|---|
| You are buying your first plant | Plant choice matters more than tools | Choose pothos, snake plant, ZZ plant, spider plant, or heartleaf philodendron based on your light | Do not buy a high-light or high-humidity plant for a dim dry room |
| Leaves yellow one at a time | May be normal aging or watering stress | Check whether new growth is healthy and whether soil dries predictably | Do not repot or fertilize immediately because of one old leaf |
| Soil stays wet for many days | Light, soil, or pot may be wrong | Increase light, use drainage, and consider a faster potting mix | Do not water again until the root zone is ready |
| Plant has pests | A plant-health issue that can spread | Isolate, identify the pest, clean leaves, and treat according to label directions | Do not spray random products without identification |
| Growth stops in winter | Seasonal slowdown | Reduce watering expectations and avoid heavy fertilizing | Do not force summer care during low-light months |
Practical framework
A reliable routine is built from the room inward. First, decide what your home can support. Then choose plants that fit that light and care style. After that, watering, soil, fertilizer, pruning, and product choices become much simpler.
Start with the environment before you blame the plant. A houseplant can only respond to the room it is actually living in: light direction, distance from the glass, pot size, soil texture, drainage, temperature, humidity, and how often the plant is disturbed. When you correct the room first, the care routine becomes simpler and the plant gives clearer feedback.
Make only one meaningful change at a time. Moving a plant, repotting it, pruning it, fertilizing it, and changing the watering routine in the same week creates a confusing recovery period. A cleaner method is to choose the most likely cause, correct that cause, and watch the newest growth rather than judging only old damaged leaves.
Use the pot as a diagnostic tool. Heavy pots, sour-smelling soil, algae, fungus gnats, and water sitting in a decorative cachepot all point toward poor oxygen around the roots. Very light pots, soil pulling away from the edge, curling leaves, and crispy lower leaves can point toward underwatering, excessive heat, or a root ball that has become too tight to absorb water evenly.
Judge success by the next set of leaves and roots. Damaged leaves rarely heal perfectly, so a good recovery plan focuses on whether the problem stops spreading, whether new growth emerges normally, and whether the soil begins to dry at a predictable speed. That evidence is more useful than guessing from a single yellow leaf.
Step-by-step method
- Match the plant to the room before buying: bright window, soft low light, dry bedroom, humid bathroom, or office shelf.
- Place the plant where it receives the strongest safe light for its species without scorching.
- Use a container with drainage and a potting mix that does not collapse into a soggy block.
- Check dryness before watering and water thoroughly only when the plant is ready.
- Inspect leaves, stems, soil surface, and undersides weekly for pests, dust, damage, or watering clues.
- Prune dead or heavily damaged leaves with clean tools and avoid removing too much healthy foliage at once.
- Adjust seasonally: less water in slower months, cautious fertilizer during active growth, and more attention after moving or repotting.
After the final step, give the plant a normal observation window. Fast action is useful for pests, rot, and severe wilting, but ordinary adjustment takes time. Most leaves already damaged by scorch, yellowing, or mechanical tearing will not turn perfect again. Judge the routine by the next growth cycle and by whether the same issue keeps spreading.
Watch a related video guide
Use the video below as a visual companion, then use the written steps on this page for the exact routine and troubleshooting checks.
Examples by situation
A beginner with one bright east window
Start with pothos, spider plant, peperomia, philodendron, or a small monstera if the room is bright enough. These plants usually teach watering and light without demanding rare-plant precision.
Keep the first month simple: observe dry-down, rotate the pot, and avoid fertilizing until the plant has settled.
A busy owner who forgets watering
Choose snake plant, ZZ plant, or pothos in a drainage pot. Place the plant in moderate to bright indirect light so it can grow without needing constant attention.
Avoid ferns, calatheas, and very small pots that dry quickly and punish missed checks.
A pet household
Check toxicity before bringing plants home. Many popular houseplants can be unsafe if chewed, including pothos, philodendron, monstera, and snake plant. Use plant stands, hanging baskets, closed rooms, or pet-safe alternatives.
Do not rely on taste deterrents as your only safety plan. Physical separation is safer.
A dim apartment
Use low-light tolerant plants and water conservatively. A grow light can turn a frustrating corner into a reliable plant shelf.
Do not expect high-light succulents, herbs, or variegated plants to thrive in a dark corner.
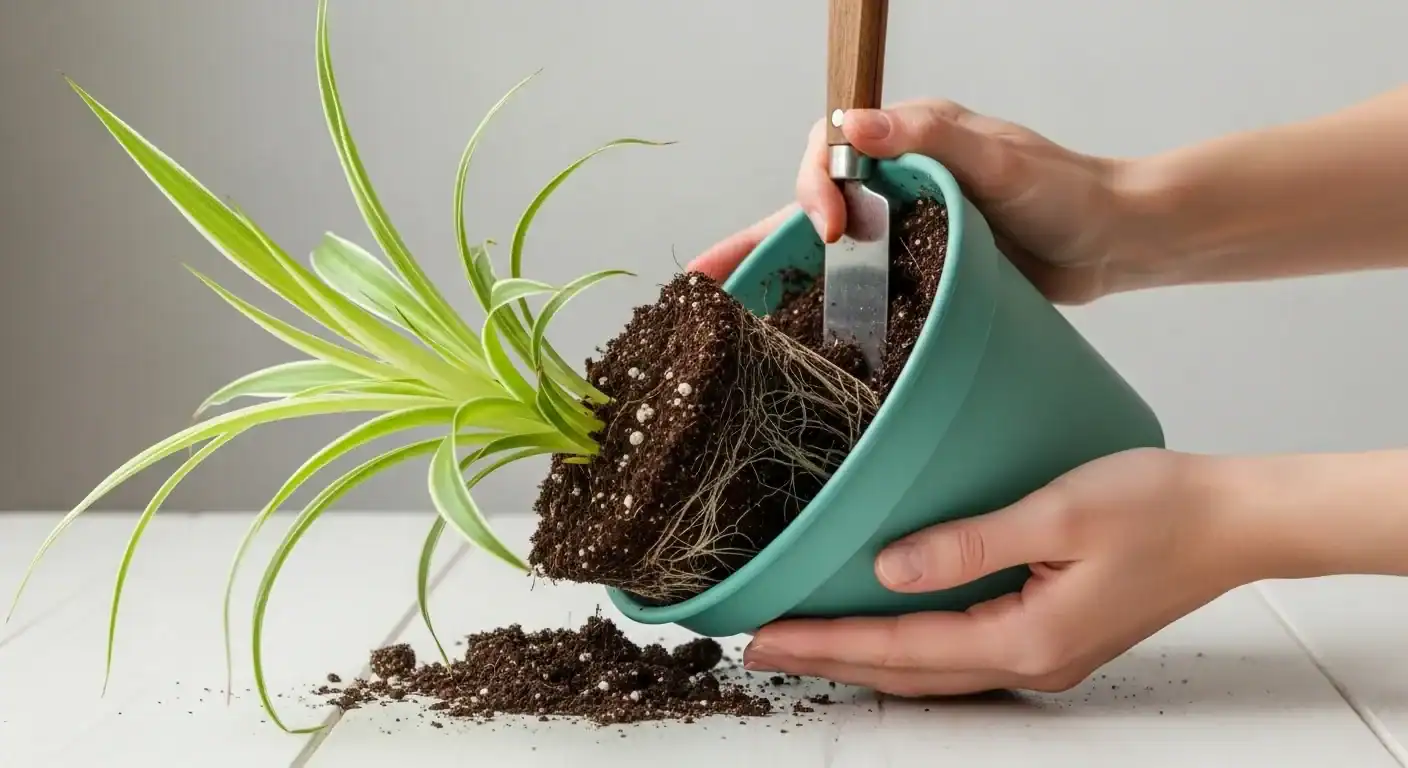
A plant declines after repotting
Repotting changes root contact, water movement, and stability. Keep light steady, avoid fertilizing immediately, and check that the new pot is not oversized.
A pot that is much larger than the root ball can hold too much wet soil around a small root system.
A plant collection keeps getting pests
Quarantine new plants, inspect weekly, clean leaves, avoid chronically wet soil, and isolate affected plants quickly. Prevention is easier than treating a whole shelf.
Do not place new plants directly among established plants without checking leaf undersides, stems, soil surface, and pot crevices.
Common mistakes and troubleshooting
The best care routine cannot fully rescue a plant placed in the wrong room.
Cachepots are fine only when excess water is removed after watering.
Too much extra soil stays wet and can stress roots.
Fertilizer supports active growth; it does not fix rot, pests, or poor light.
Early isolation and identification are far easier than treating every plant.
Multiple changes make it hard to know what helped or harmed the plant.
Use gentle methods and avoid products that clog or burn foliage.
Judge success by new growth and stopped decline, not cosmetic repair of old damage.
When two symptoms appear at the same time, start with the factor that can damage roots or spread to other plants. Standing water, sour soil, mushy stems, and active pests deserve faster action than a single old yellow leaf. If you recently bought, repotted, or moved the plant, expect a short adjustment period and avoid stacking unnecessary changes.
What to watch over the next 30 days
A good care change should make the plant easier to read, not more confusing. Use the next month to watch the plant in a calm, repeatable way. Do not judge the whole routine by one old leaf, one dry tip, or one day of wilting after a hot afternoon. Look for patterns: how quickly the pot dries, whether new growth looks stronger, whether pests reappear, and whether the plant holds its shape without emergency changes.
During the first week, focus on placement and water behavior. Check the plant at the same time of day when possible. Notice whether light reaches the foliage, whether the pot feels heavy or light, and whether any leaf damage is spreading. If the plant was recently moved, give it stable conditions instead of moving it again the next day. Stability helps separate normal adjustment from a real care problem.
During the second week, inspect the root-zone clues. A healthy potting mix should not smell sour, stay swampy, or pull away into a bone-dry brick every few days. If water rushes around the root ball and out of the pot without soaking in, the mix may be too dry or hydrophobic. If water remains trapped in the bottom for days, the mix may be too dense, the pot may be too large, or the room may be too dim for the watering routine.
During the third week, check the newest leaves rather than the oldest damaged leaves. New leaves tell you whether the current conditions are improving. Old leaves often keep scars from sun, pests, dryness, or previous overwatering. Removing every imperfect leaf too early can weaken a small plant, so trim only leaves that are dead, mushy, pest-covered, or clearly no longer useful to the plant.
During the fourth week, decide whether the change was enough. If the plant is stable, leave the routine alone. If the same symptom keeps appearing on new growth, return to the decision table and correct the next likely cause. This slow method prevents the common cycle of watering, repotting, fertilizing, pruning, and moving the plant all in one stressful burst.
| Timeframe | Check | Healthy sign | Warning sign |
|---|---|---|---|
| Days 1–3 | Placement and light | The plant receives steady usable light without heat stress. | Leaves bleach, lean sharply, or sit in darkness most of the day. |
| Days 4–7 | Soil and pot weight | The pot begins to dry at a predictable speed. | The pot stays wet, smells sour, or becomes bone dry too quickly. |
| Week 2 | Leaves and stems | No rapid spreading of yellowing, soft tissue, or pest damage. | Soft stems, sticky residue, webbing, new spots, or repeated wilting appear. |
| Week 3 | New growth | New leaves are firmer, better shaped, or at least not worse. | New growth is distorted, tiny, pale, or damaged as soon as it opens. |
| Week 4 | Routine decision | The plant is stable enough to continue the same care. | The same problem repeats and a second cause needs to be checked. |
How to adjust without overcorrecting
The safest plant-care improvements are small and observable. Move a plant a little closer to light instead of from shade into hot sun. Wait for the root zone to dry instead of forcing a strict watering interval. Prune one or two damaged leaves instead of stripping the plant bare. Clean pests and repeat inspection instead of spraying several products at once. These choices protect the plant while still moving the routine in the right direction.
When the plant improves, resist the urge to keep changing the routine. Many indoor plants decline because the owner keeps reacting after the problem has already stopped. If new growth is healthy, the pot dries normally, and no pests are visible, the best next step is often consistency. Plants use stable conditions to rebuild roots and leaves; constant intervention interrupts that recovery.
When the plant does not improve, look for the hidden constraint. A plant can fail because the room is too dark, the pot has no drainage, the soil is compacted, the roots are damaged, the plant was already stressed when purchased, or pests are hiding in the leaf joints. The visible symptom is only the clue. The fix works when it solves the condition behind the symptom.
Signs the routine is working
- New leaves are close to normal size, color, and shape for the plant.
- The plant stops losing leaves rapidly.
- The potting mix dries at a predictable pace.
- Stems feel firm rather than soft or collapsing.
- No sticky residue, webbing, cottony clusters, or moving insects are visible.
- The plant leans less after rotation or better placement.
- Water drains freely and does not sit in the decorative pot.
- You can explain why you watered, moved, pruned, or repotted instead of guessing.
When to get more cautious
Be more cautious when the plant is newly purchased, newly repotted, heavily pruned, pest-treated, cold-damaged, or already weak. Stressed plants have less stored energy and less root capacity, so normal care changes can feel more intense. Keep those plants in stable light, avoid unnecessary fertilizer, and let the root zone guide watering. If you need to remove damaged material, remove the worst tissue first and keep healthy leaves whenever possible.
Be more cautious with plants in decorative containers. A beautiful outer pot can hide standing water, a tight nursery sleeve, compacted soil, or roots sitting in the runoff after every watering. Lift the inner pot when you water, let it drain fully, and check the cover pot before returning the plant. This one habit prevents many cases of slow yellowing and root decline.
Be more cautious with plants near vents, heaters, cold windows, fireplaces, kitchen appliances, and exterior doors. A plant can have correct light and still decline because hot dry air, cold drafts, or repeated temperature swings stress the leaves and roots. Move the plant a small distance, then observe whether leaf edges, wilting, or dry-down improve.
Simple record to keep
For one month, keep a tiny note with the date watered, how dry the soil felt, whether the pot felt light or heavy, and any new symptom. This does not need to be complicated. Four short notes can reveal whether the plant is drying every four days, every ten days, or almost never. Once you see the pattern, care becomes calmer and mistakes become easier to correct.
Use this guide as a practical routine for indoor plant care: the complete beginner-friendly houseplant routine, but keep the plant in front of you as the final evidence. Species guidance matters, yet the room, pot, roots, and season decide how that guidance behaves in real life.
Helpful supplies for this guide
Affiliate disclosure: As an Amazon Associate, PlantasticHaven may earn from qualifying purchases. Buy only what solves the specific problem in this guide; a better pot, brighter placement, or slower watering routine often matters more than another product.

Soil moisture meter
Helpful for learning dry-down patterns, especially in deeper pots where the surface dries first.
Best for: large pots, new plant owners, and low-light rooms
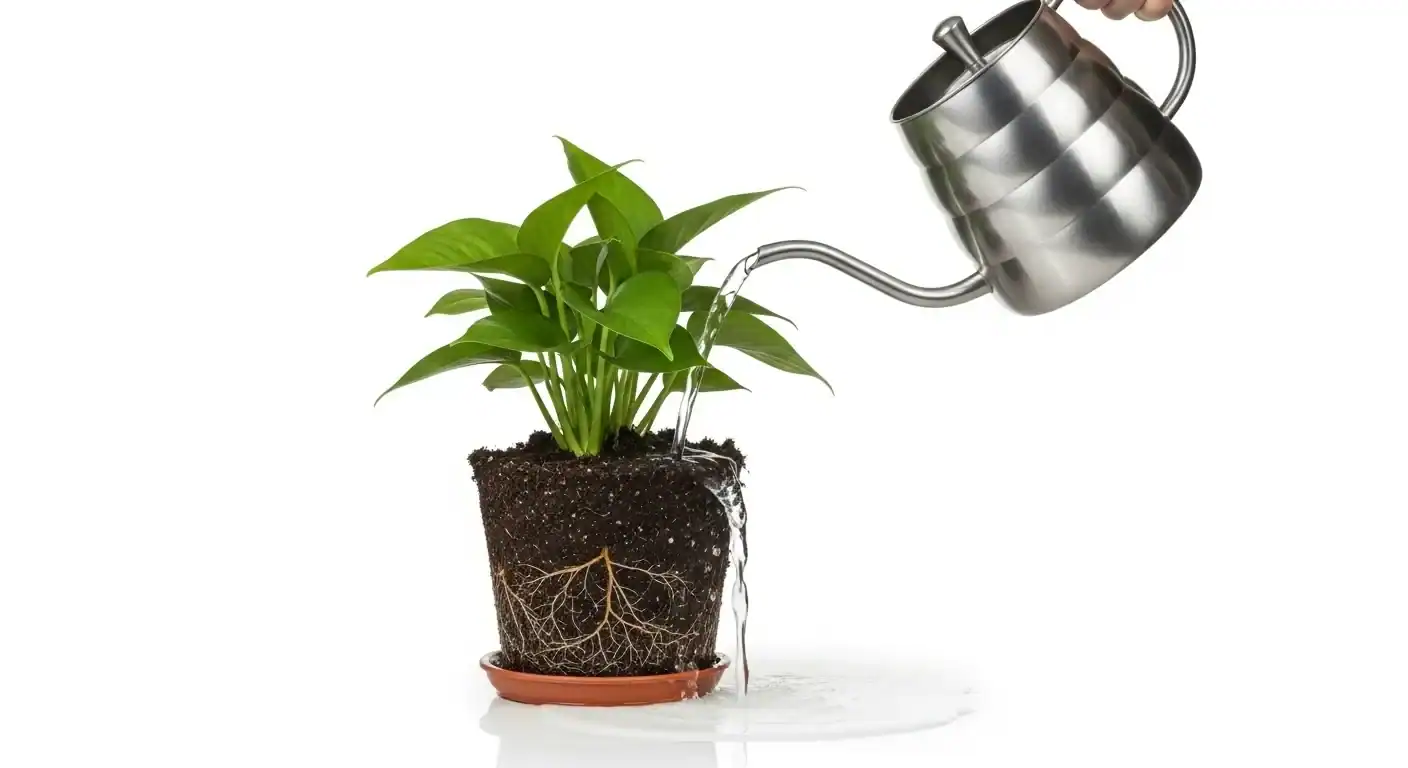
Long-spout indoor watering can
Lets you water the soil surface without soaking leaves, shelves, or the crown of the plant.
Best for: dense foliage and shelf plants
Nursery pots with drainage holes
Drainage holes make it easier to water thoroughly and remove excess water.
Best for: repotting plants stuck in sealed decorative pots
Helpful plant supplies from Amazon
Affiliate disclosure: As an Amazon Associate, PlantasticHaven may earn from qualifying purchases. Buy only what solves the specific problem in this guide; a better pot, window placement, or watering change often matters more than another product.
Moisture Meter
Soil moisture meter
Instantly checks soil moisture at the root level to prevent overwatering.

Timer
Outlet timer for grow lights
Automates grow light schedules to keep light duration consistent and plants stress-free.
Grow Light
LED grow light for indoor plants
Provides full-spectrum supplemental light for healthy foliage growth in dim rooms.
FAQ
What is the easiest indoor plant care routine?
Choose a plant that fits your light, use a drainage pot, check soil before watering, inspect weekly, and adjust seasonally. This simple routine prevents most beginner mistakes.
How do I know if an indoor plant is healthy?
Healthy plants usually have firm leaves, stable stems, normal new growth, roots that are not mushy, and soil that dries at a predictable speed.
Should I fertilize indoor plants every time I water?
No. Fertilize lightly during active growth only when the plant is healthy and receiving enough light. Avoid fertilizing stressed, newly repotted, pest-infested, or dormant plants.
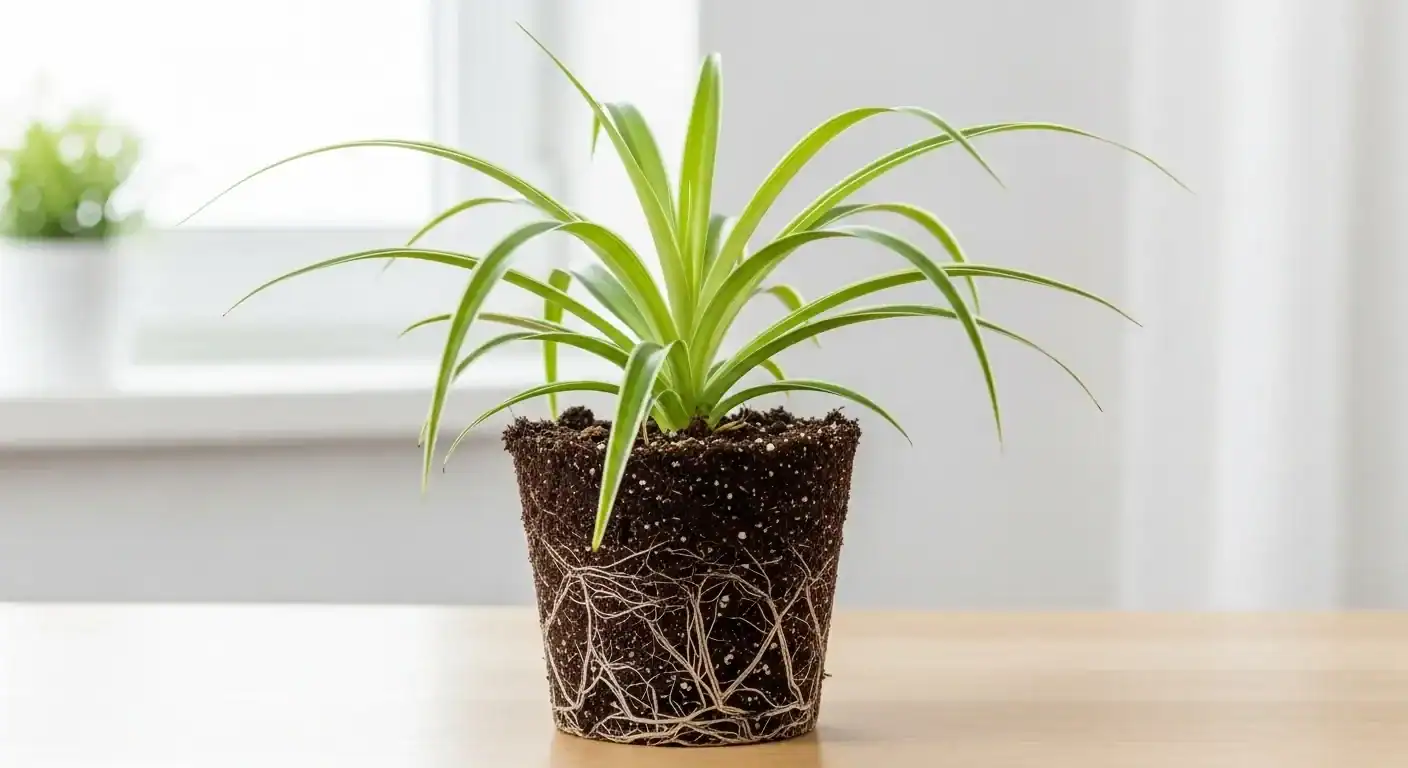
How often should I repot indoor plants?
Repot when roots are crowded, water runs through too fast, growth stalls from root restriction, or soil has broken down. Many plants do not need repotting every year.
Why do indoor plants keep dying?
The most common reasons are poor light match, overwatering, sealed pots, dense soil, pests, and buying plants that do not fit the home environment.
Sources, editorial note, and review date
This guide was reviewed on June 5, 2026 for practical indoor plant care, source consistency, pet-safety awareness, and product-safety language. It gives decision rules for ordinary homes rather than guaranteed outcomes, because plant response depends on species, pot size, soil, roots, light, temperature, humidity, season, and pest pressure.
- University of Minnesota Extension: lighting for indoor plants
- University of Maryland Extension: watering indoor plants
- University of Missouri Extension: caring for houseplants
- Clemson Cooperative Extension: common houseplant insects and related pests
- National Pesticide Information Center: houseplant IPM
- ASPCA: toxic and non-toxic plants database